I made progress last week. Well, the past few weeks. 2 weeks ago I did all the tiling, grouting, and sealing. This week I painted. Though I am not finished with the walls, I have to take a small break while I collect my thoughts and ideas. And because our next two weeks are devoted to demolishing a fence, having our yard excavated, a retaining wall rebuilt and the fence rebuilt. We’ve hired out the wall repair, but are tackling the fence ourselves. It was about $4,000 more to hire out :( We’ve given ourselves a ridiculously tight time frame. We have to get the fence rebuilt by the end of next week because Jesse and I are going to the UK for about 10 days. Our yard needs to be put back together for our house sitters and more importantly the fence needs to be up for the dog. You can agree, my mini kitchen make-over wasn’t the best timed project, though it’s become my happy place amongst the chaos!
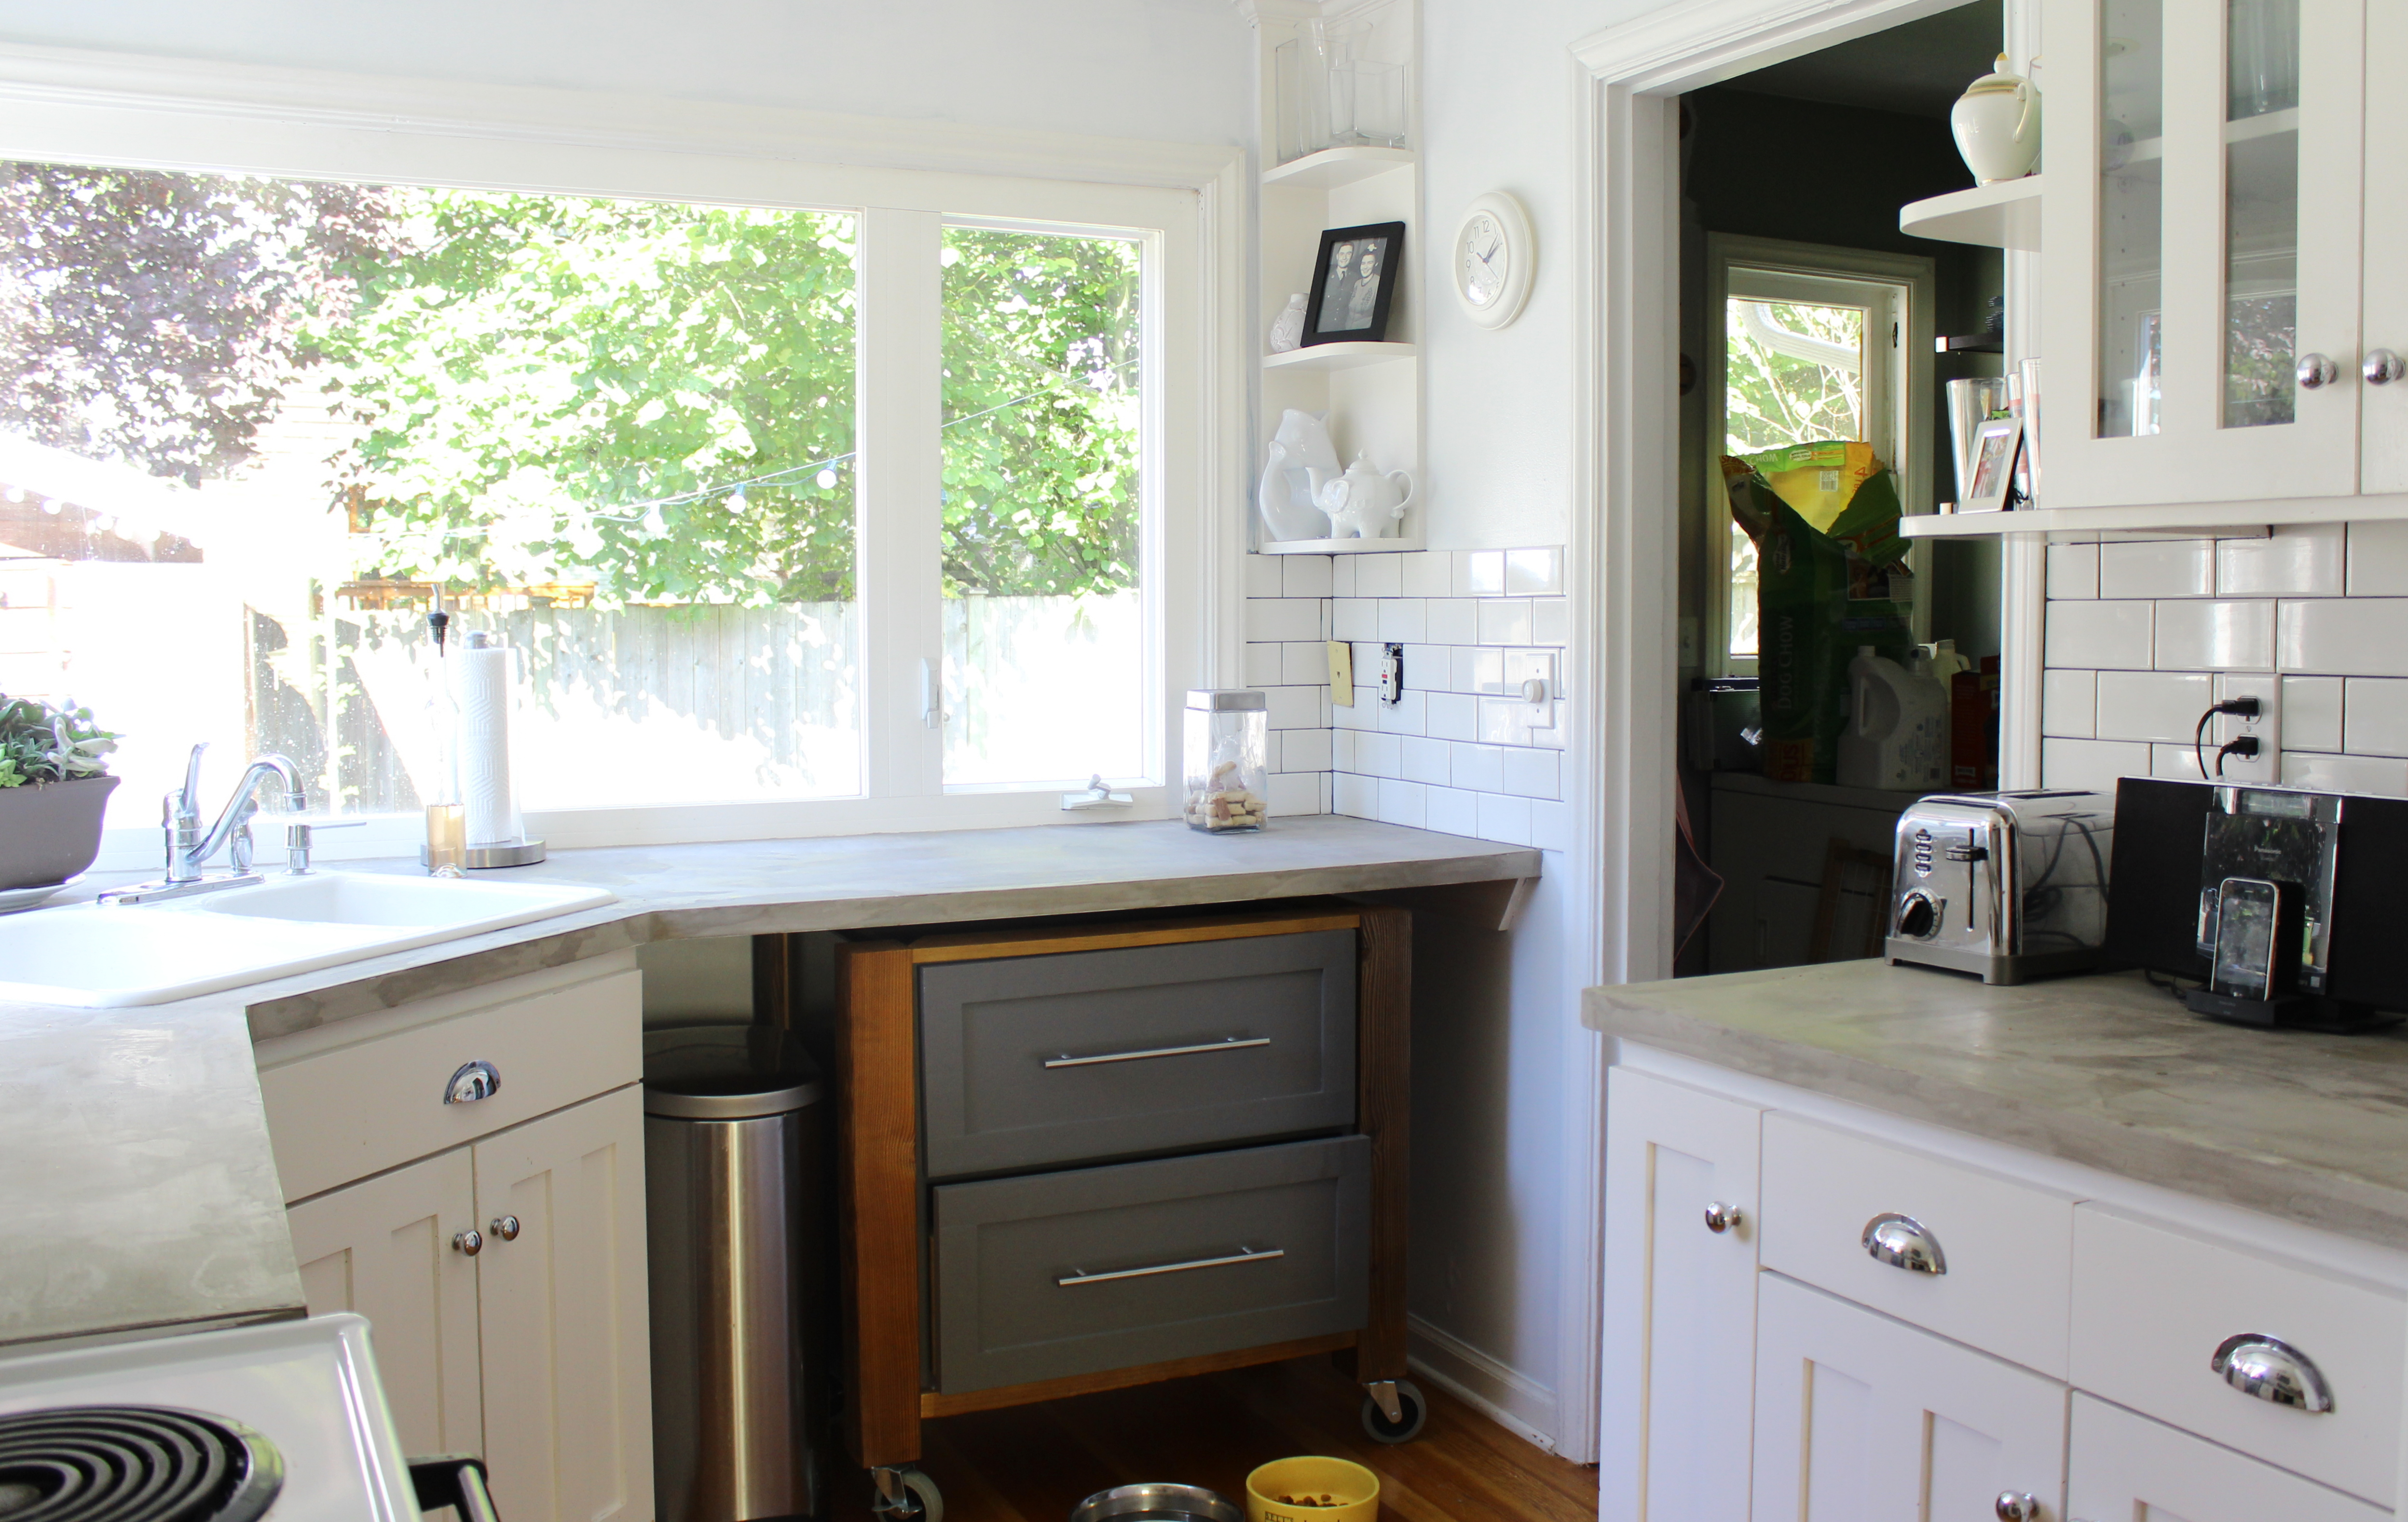
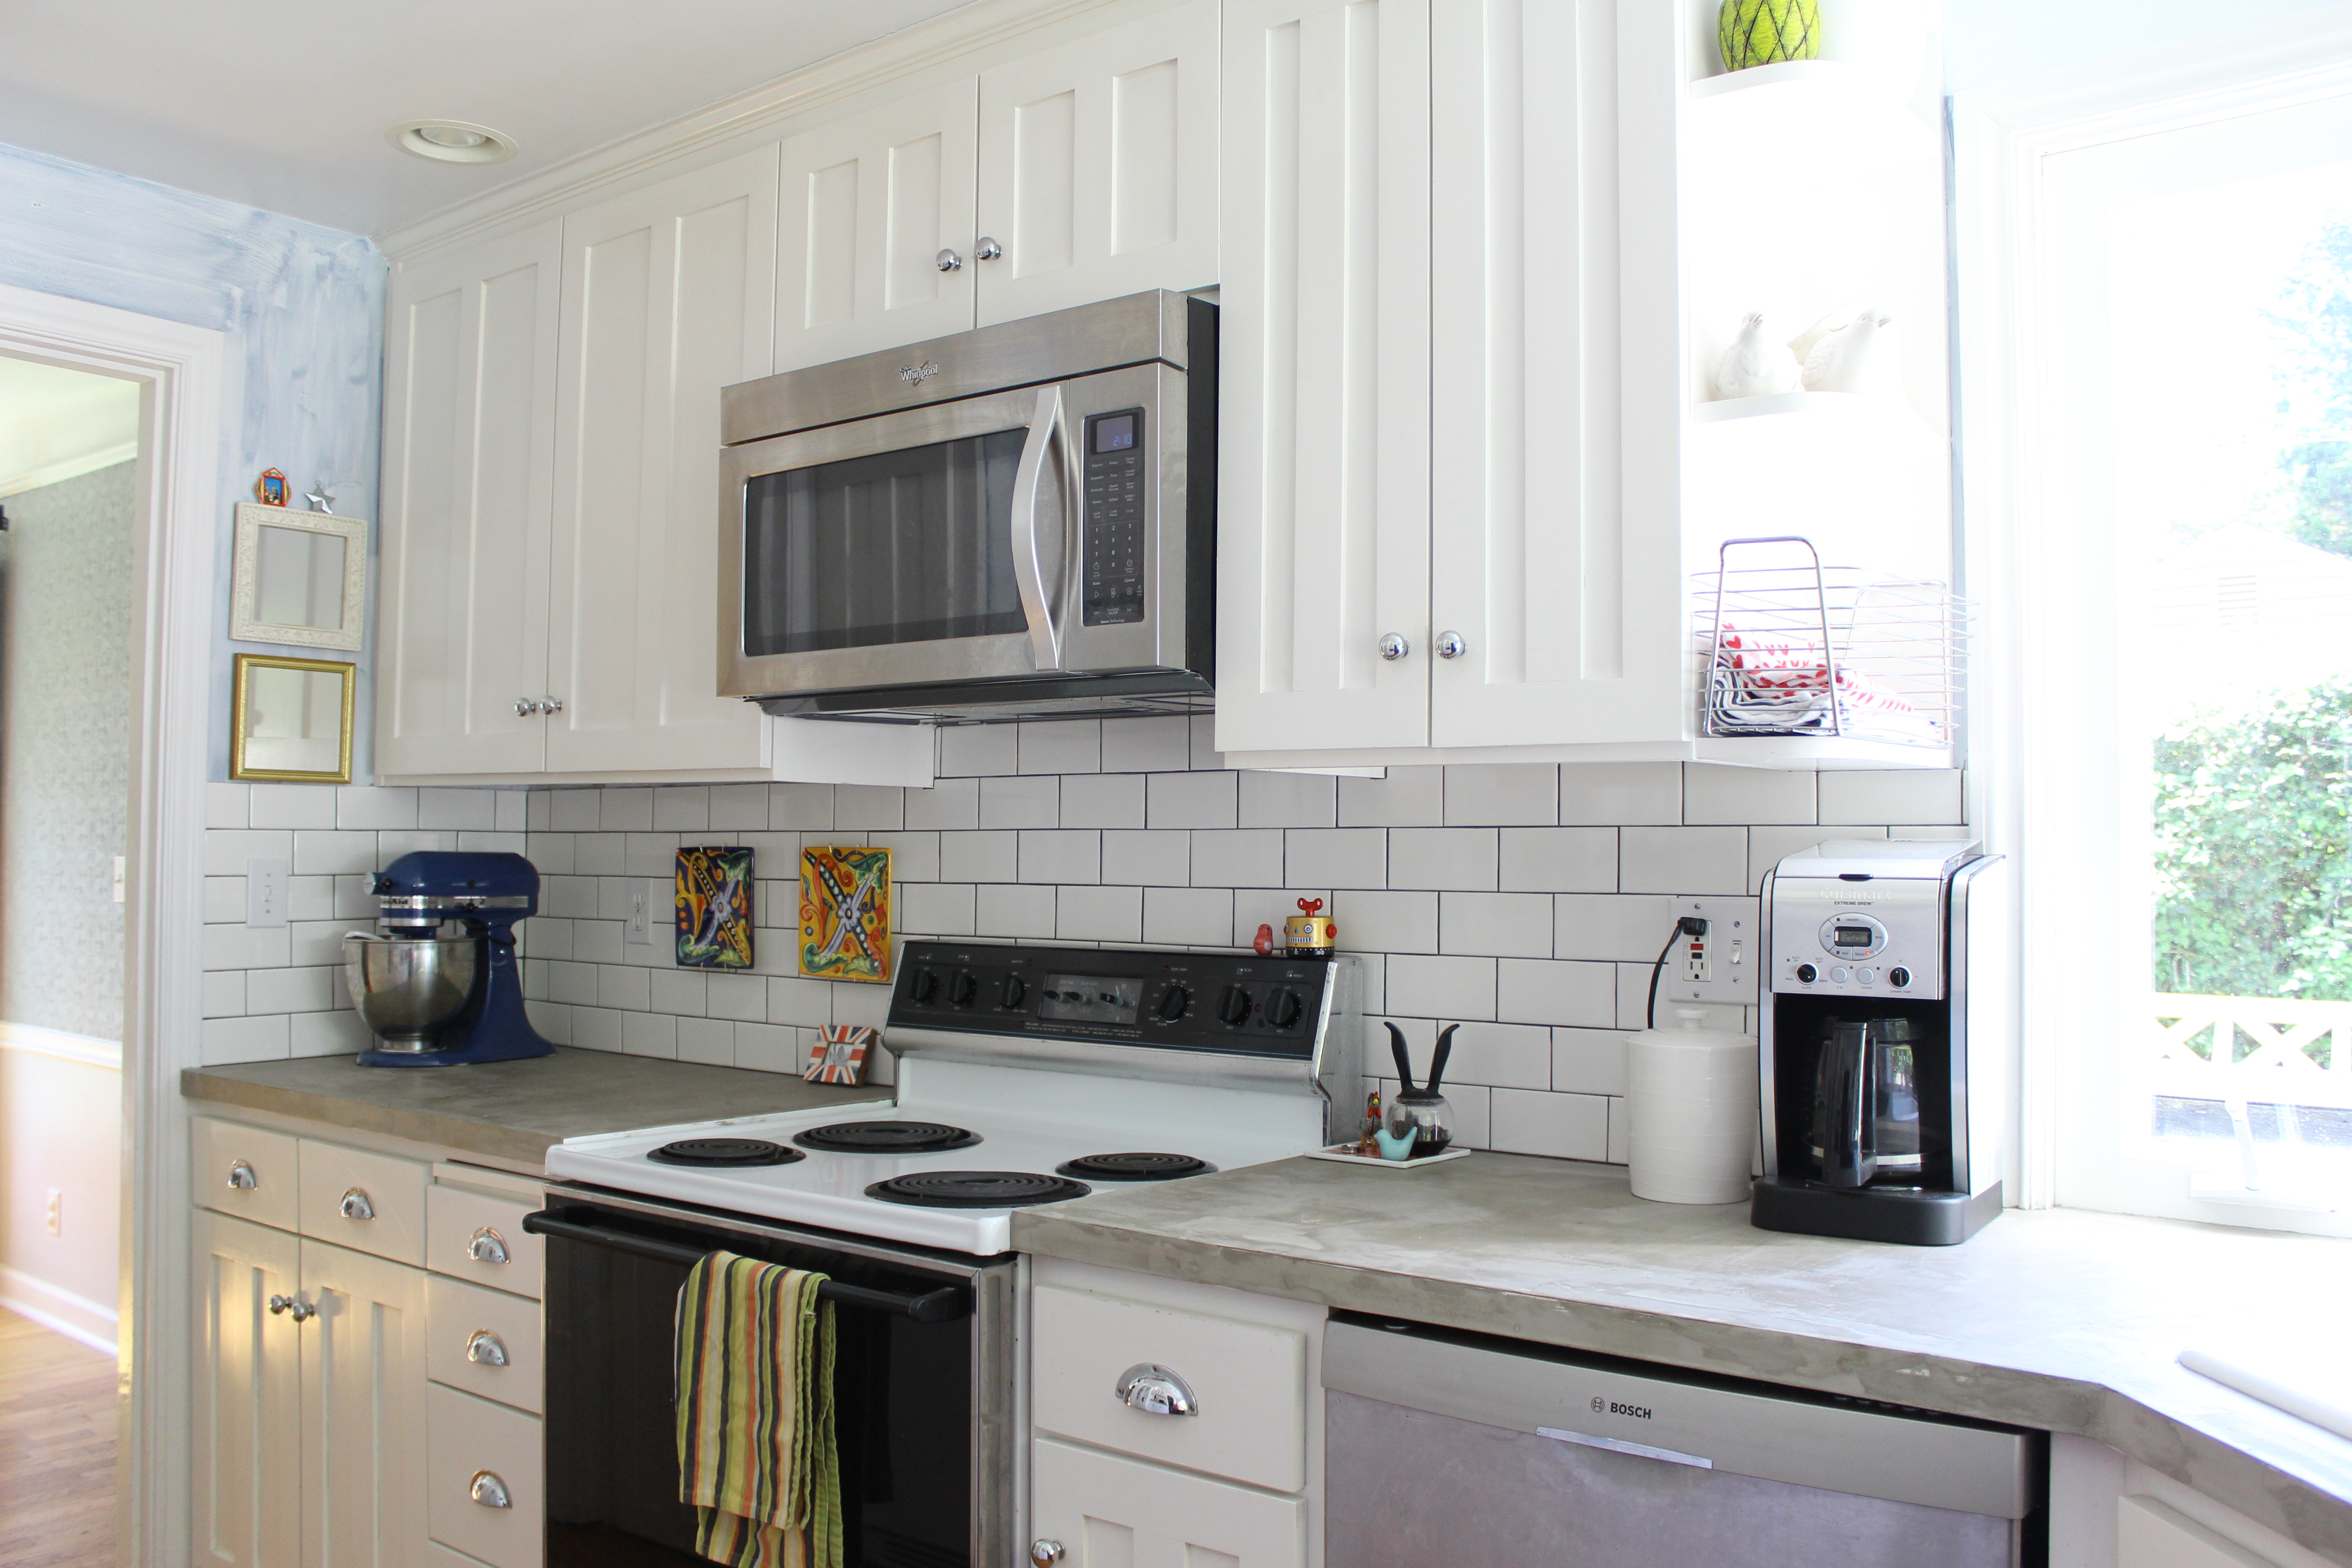 I wanted to keep the wall paint light, and looking at my pinterest boards the common theme was white. That then of course leads to the next question of what shade of white. I picked a white that had a little grey mixed in. I had hoped that it would help pull in the concrete counters, but instead a few other issues arose. First – I can’t help but feel like it looks like primer. I should point out that I only painted the wall in the photo below. The wall in the photo above does, in fact, only have primer. And second – the white of the walls is too white and makes the trim look dirty. I have to say though, the pictures make it look better than it is.
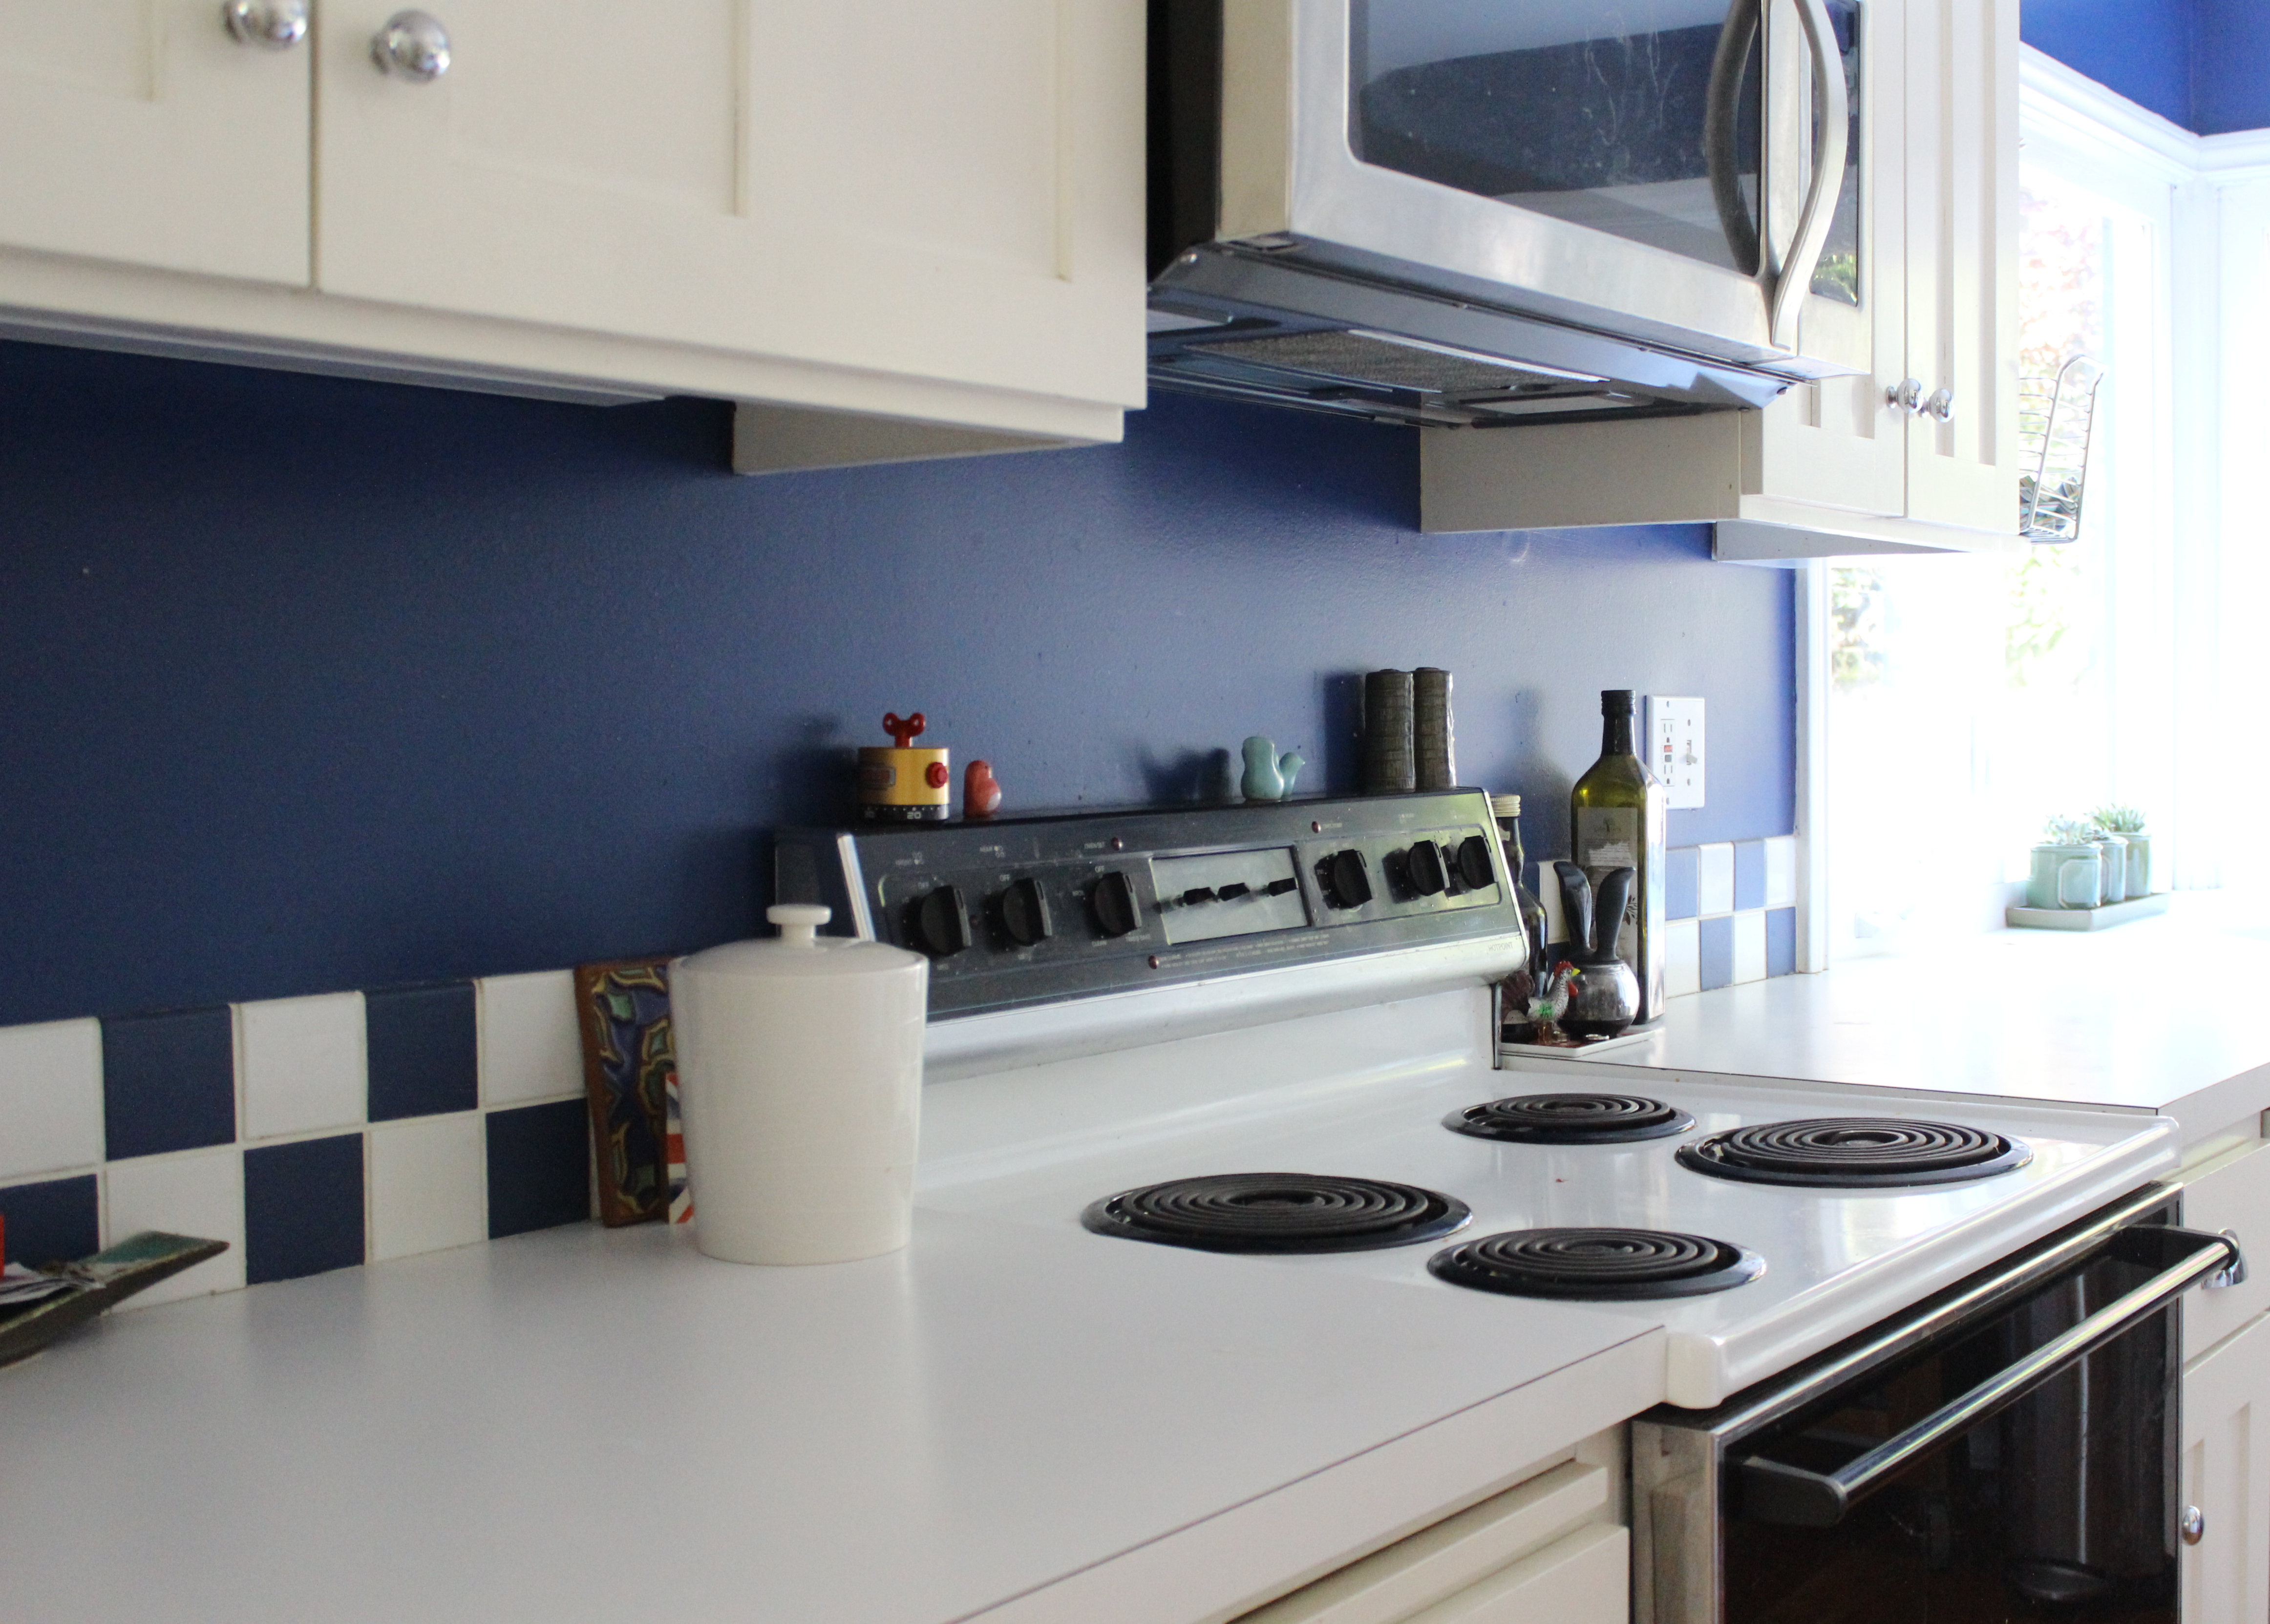
 Quick Before
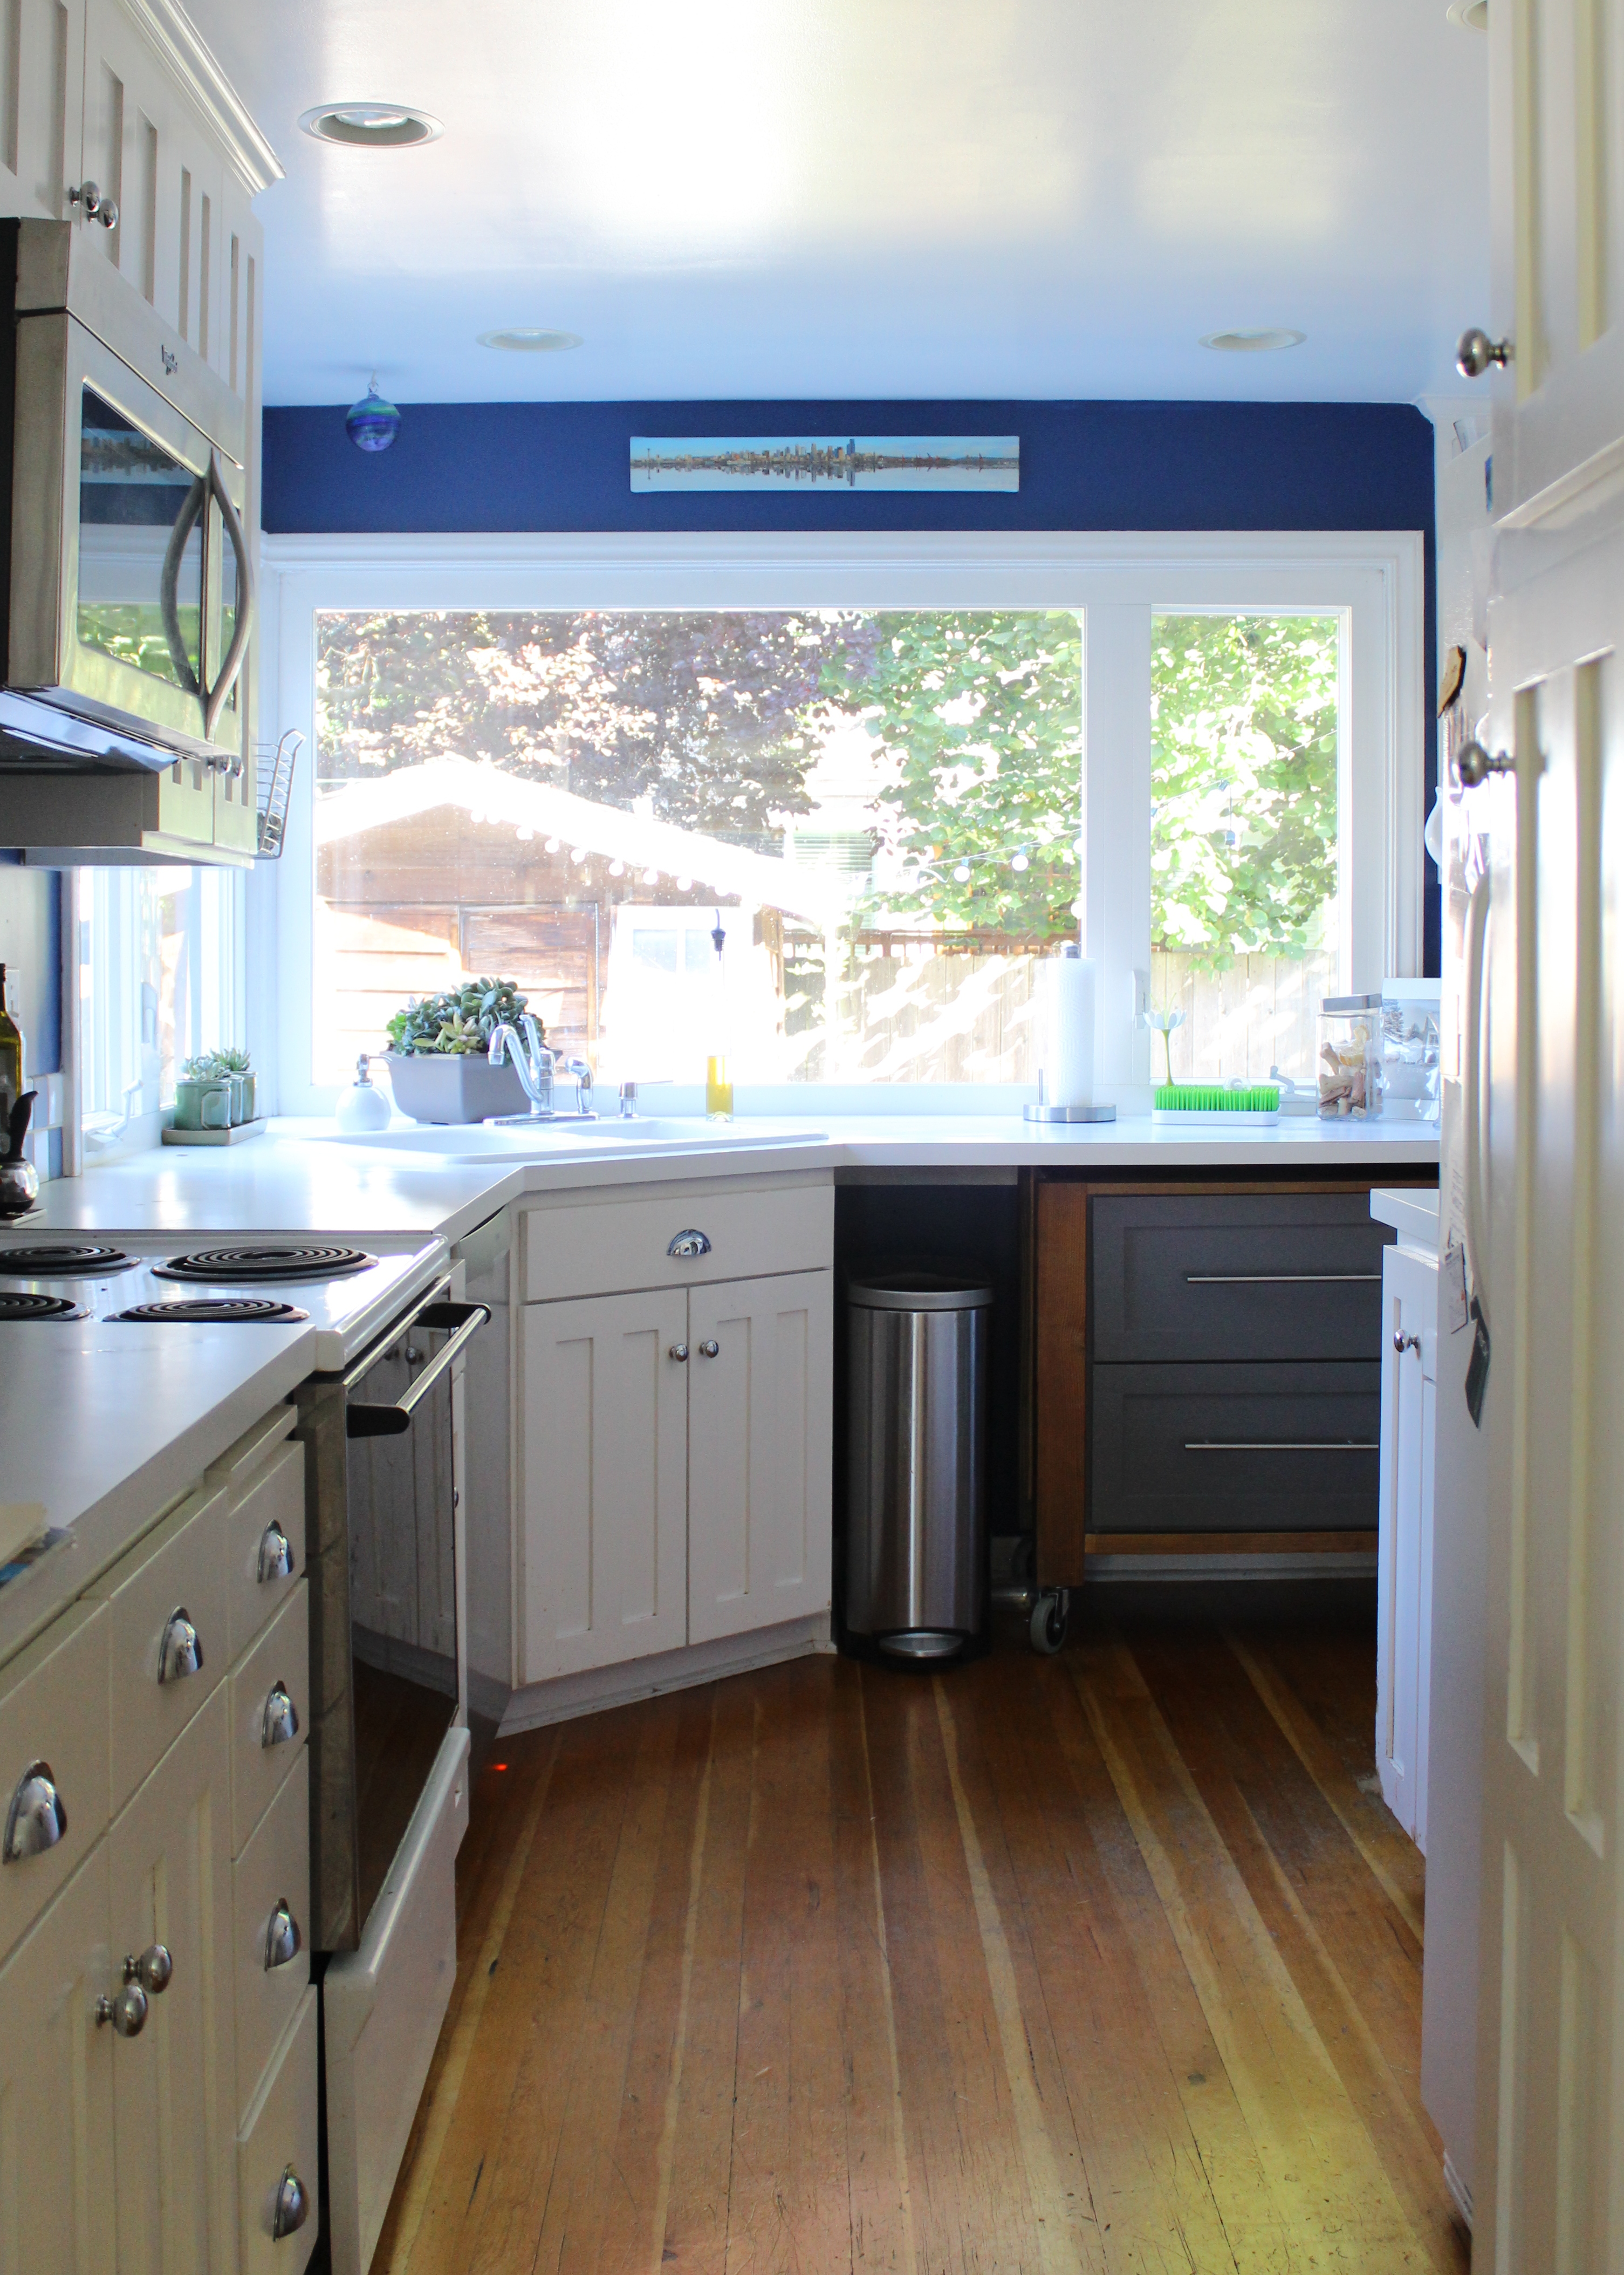
 And back to the
 after progress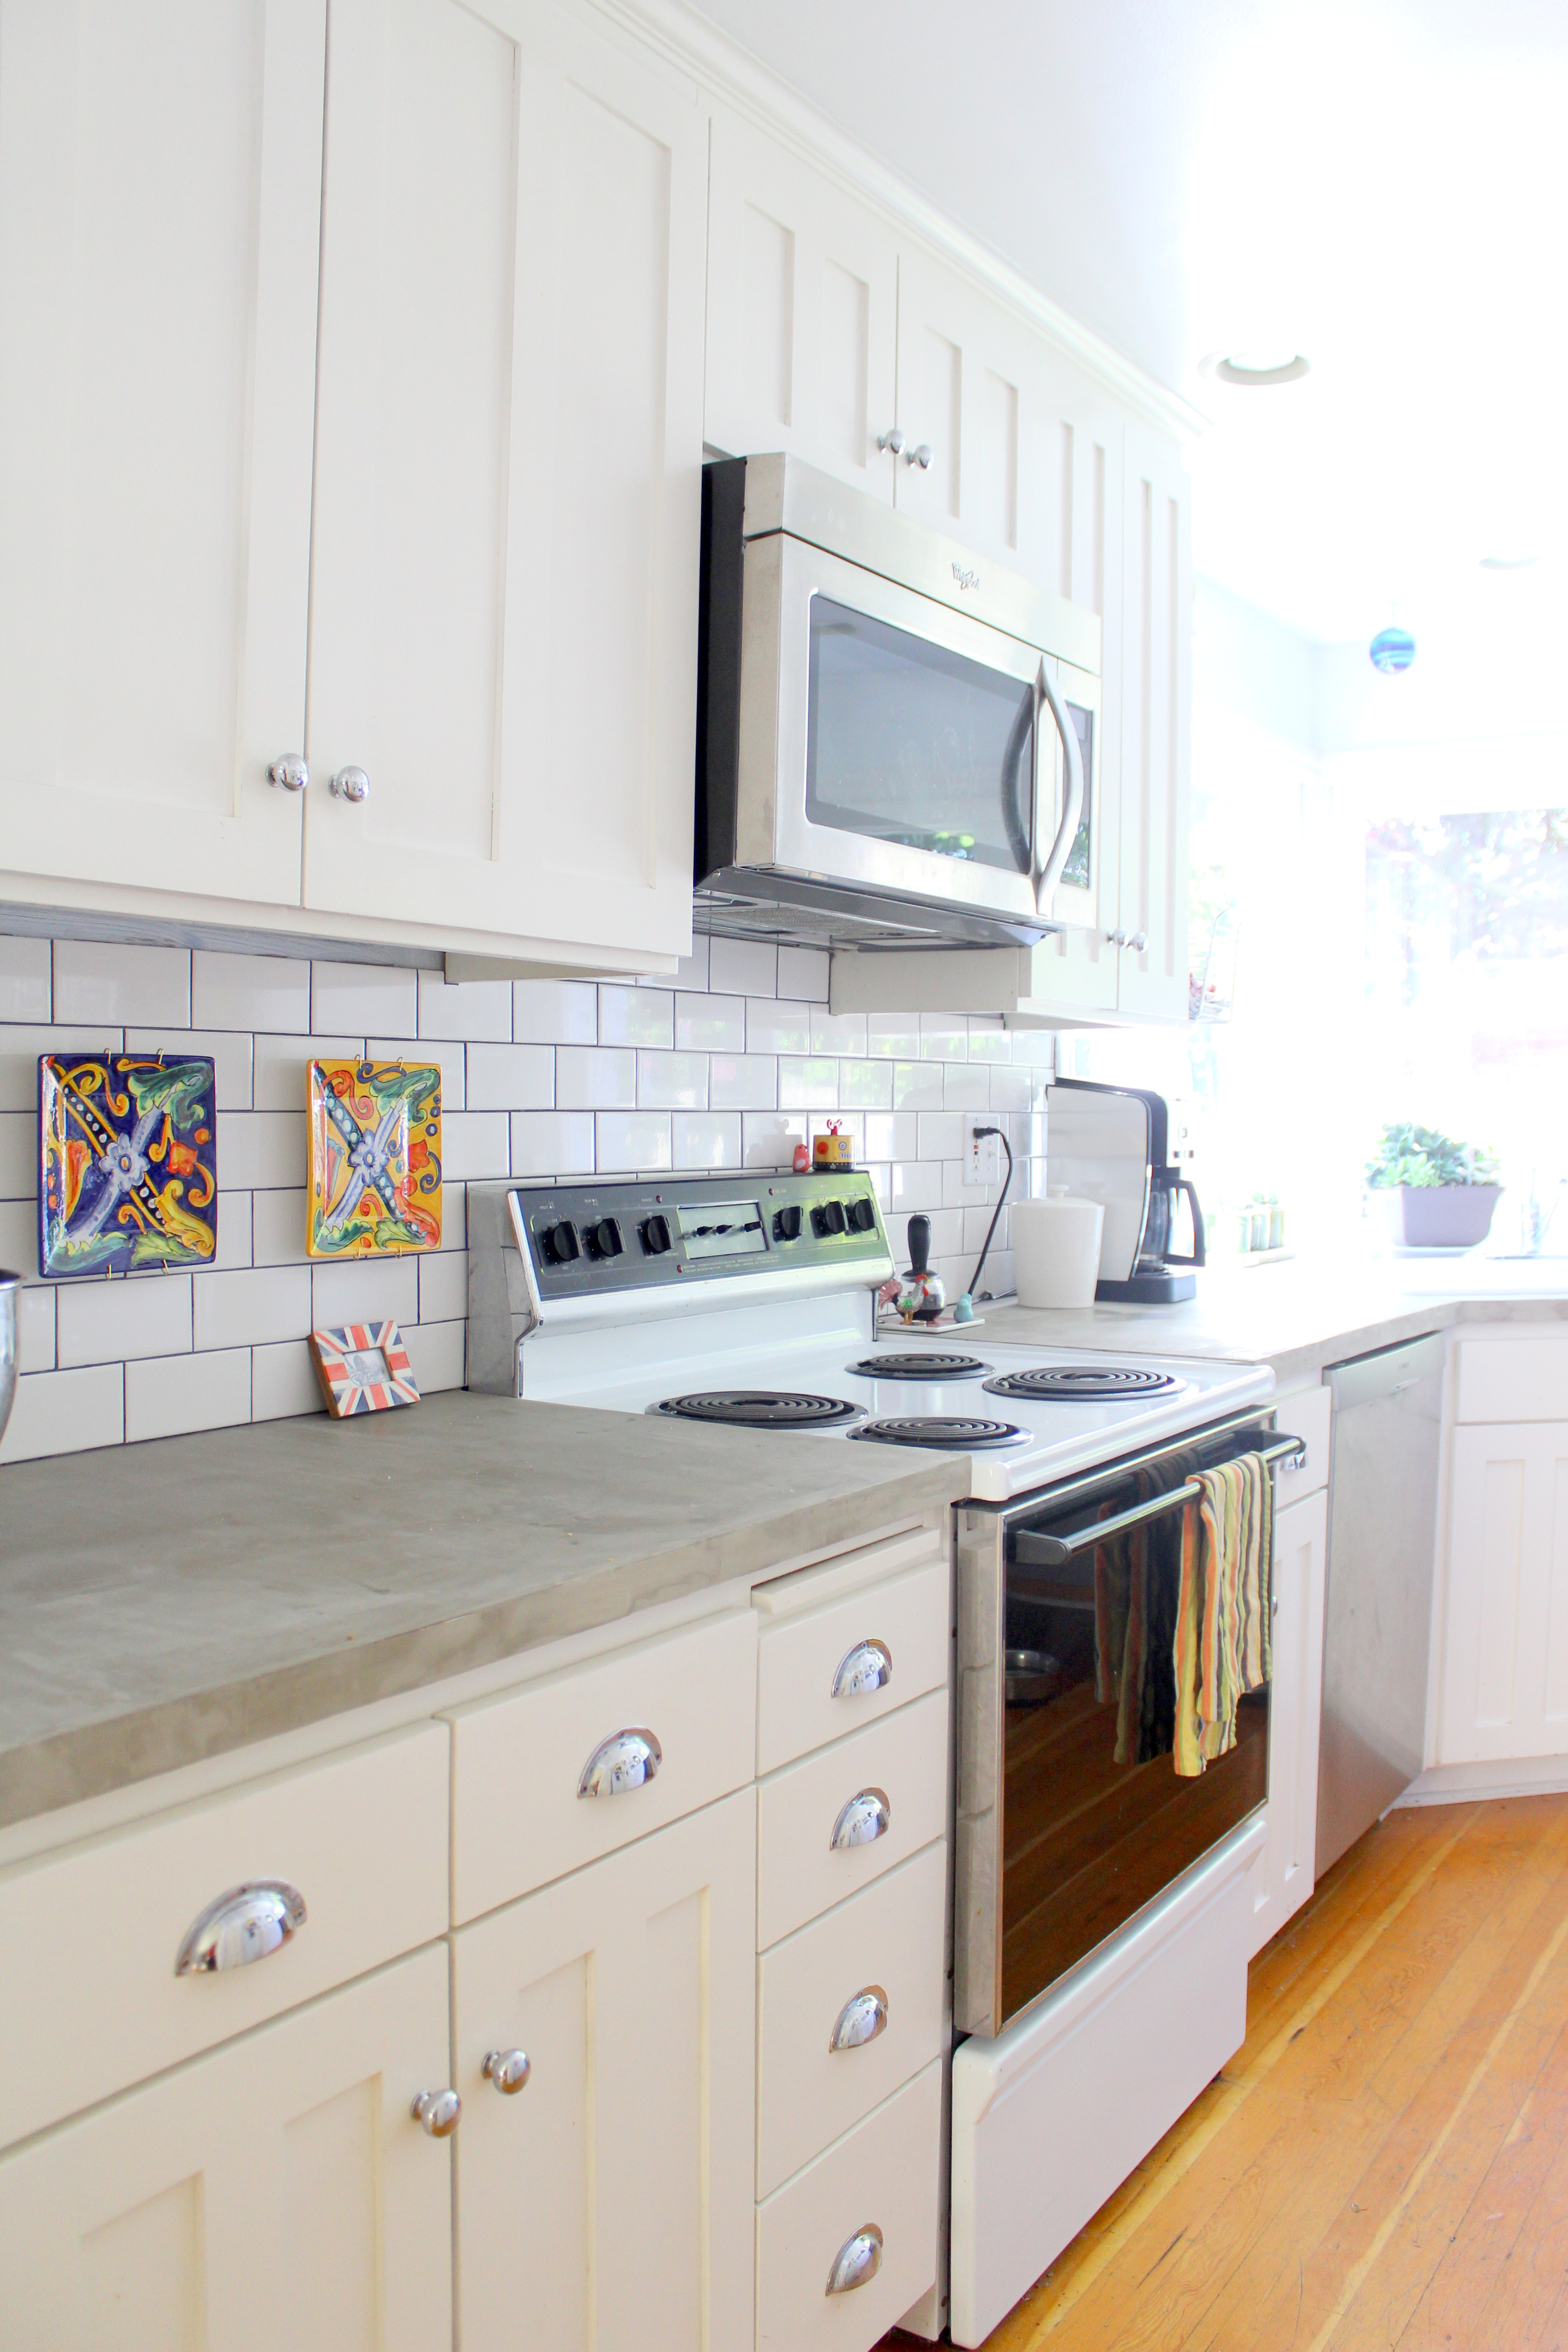
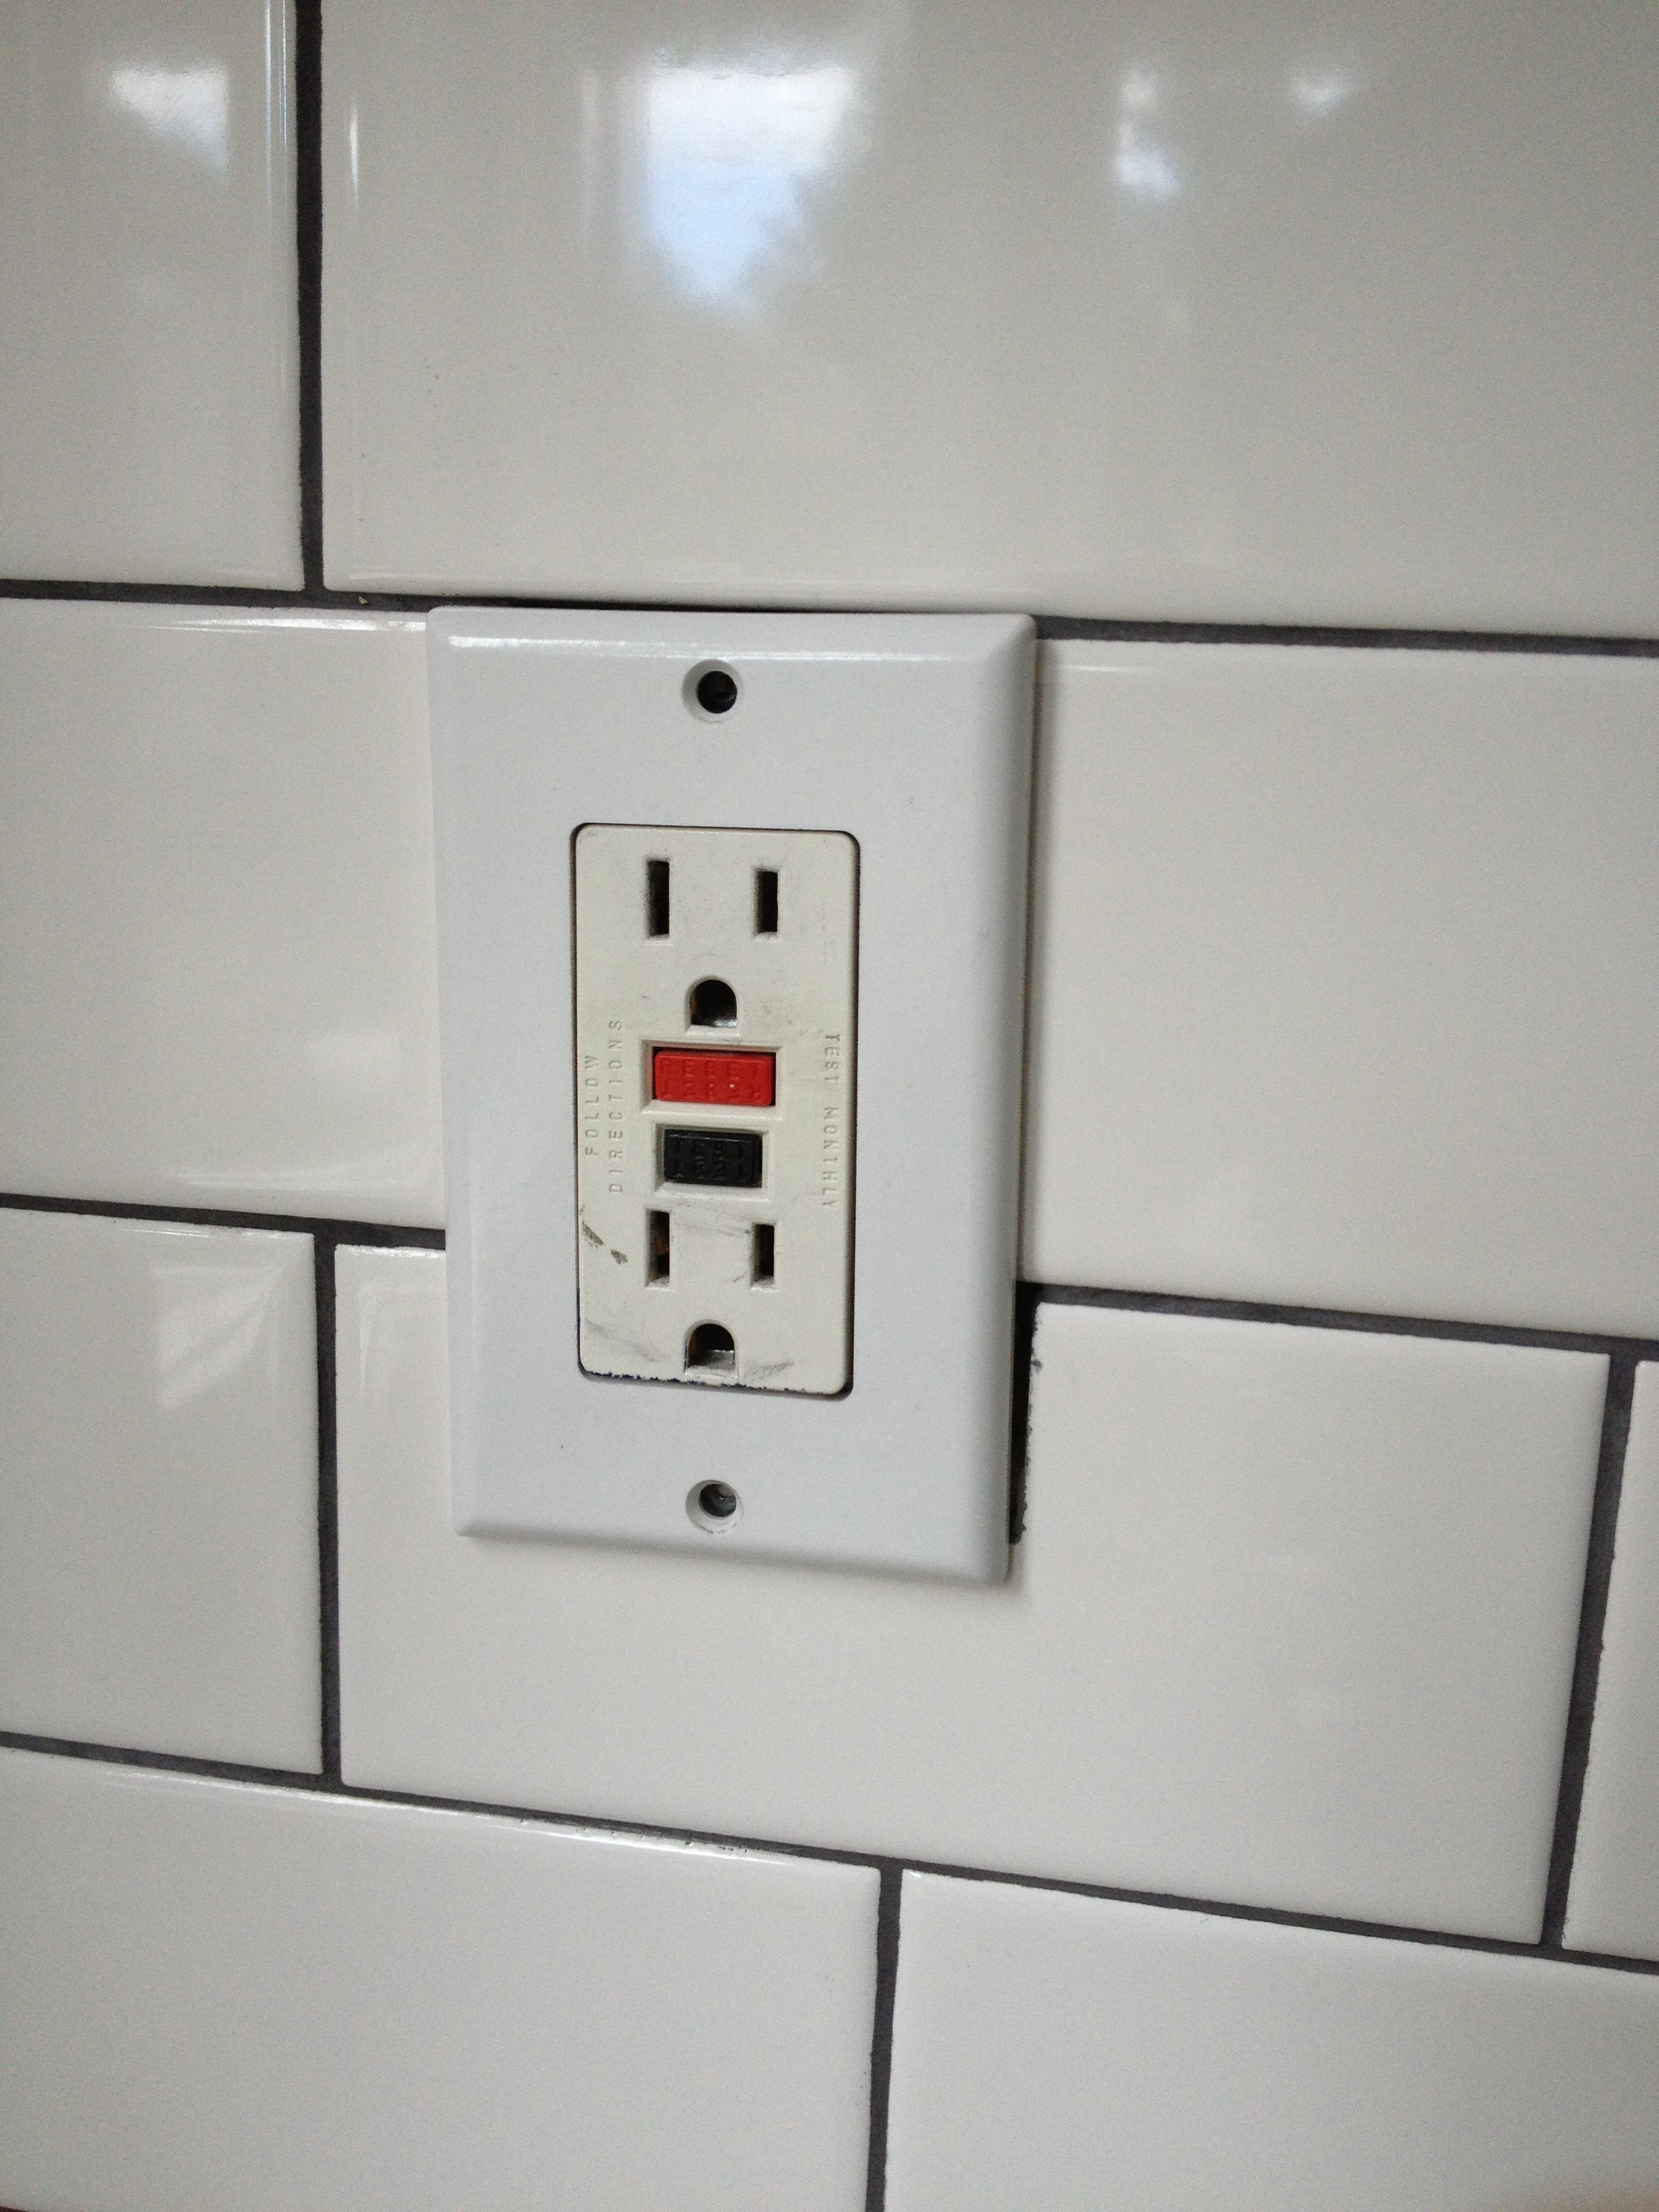
 I did have a big set back as I was replacing all the outlet covers. You can see in the picture below, there is a small gap between the cover and the tile! I seriously was about to scream. My tiling supplies had been put away for over a week, and I had no interest in getting them back out. And that type of cut is a huge pain. But I know that it would haunt me if I left it. It would whisper my name each time I’d enter the kitchen, and I would try to look away, but I’d just stare. So to nip that, I replaced the tile. Luckily I still had the tile cutter and had yet to return my tile surplus.
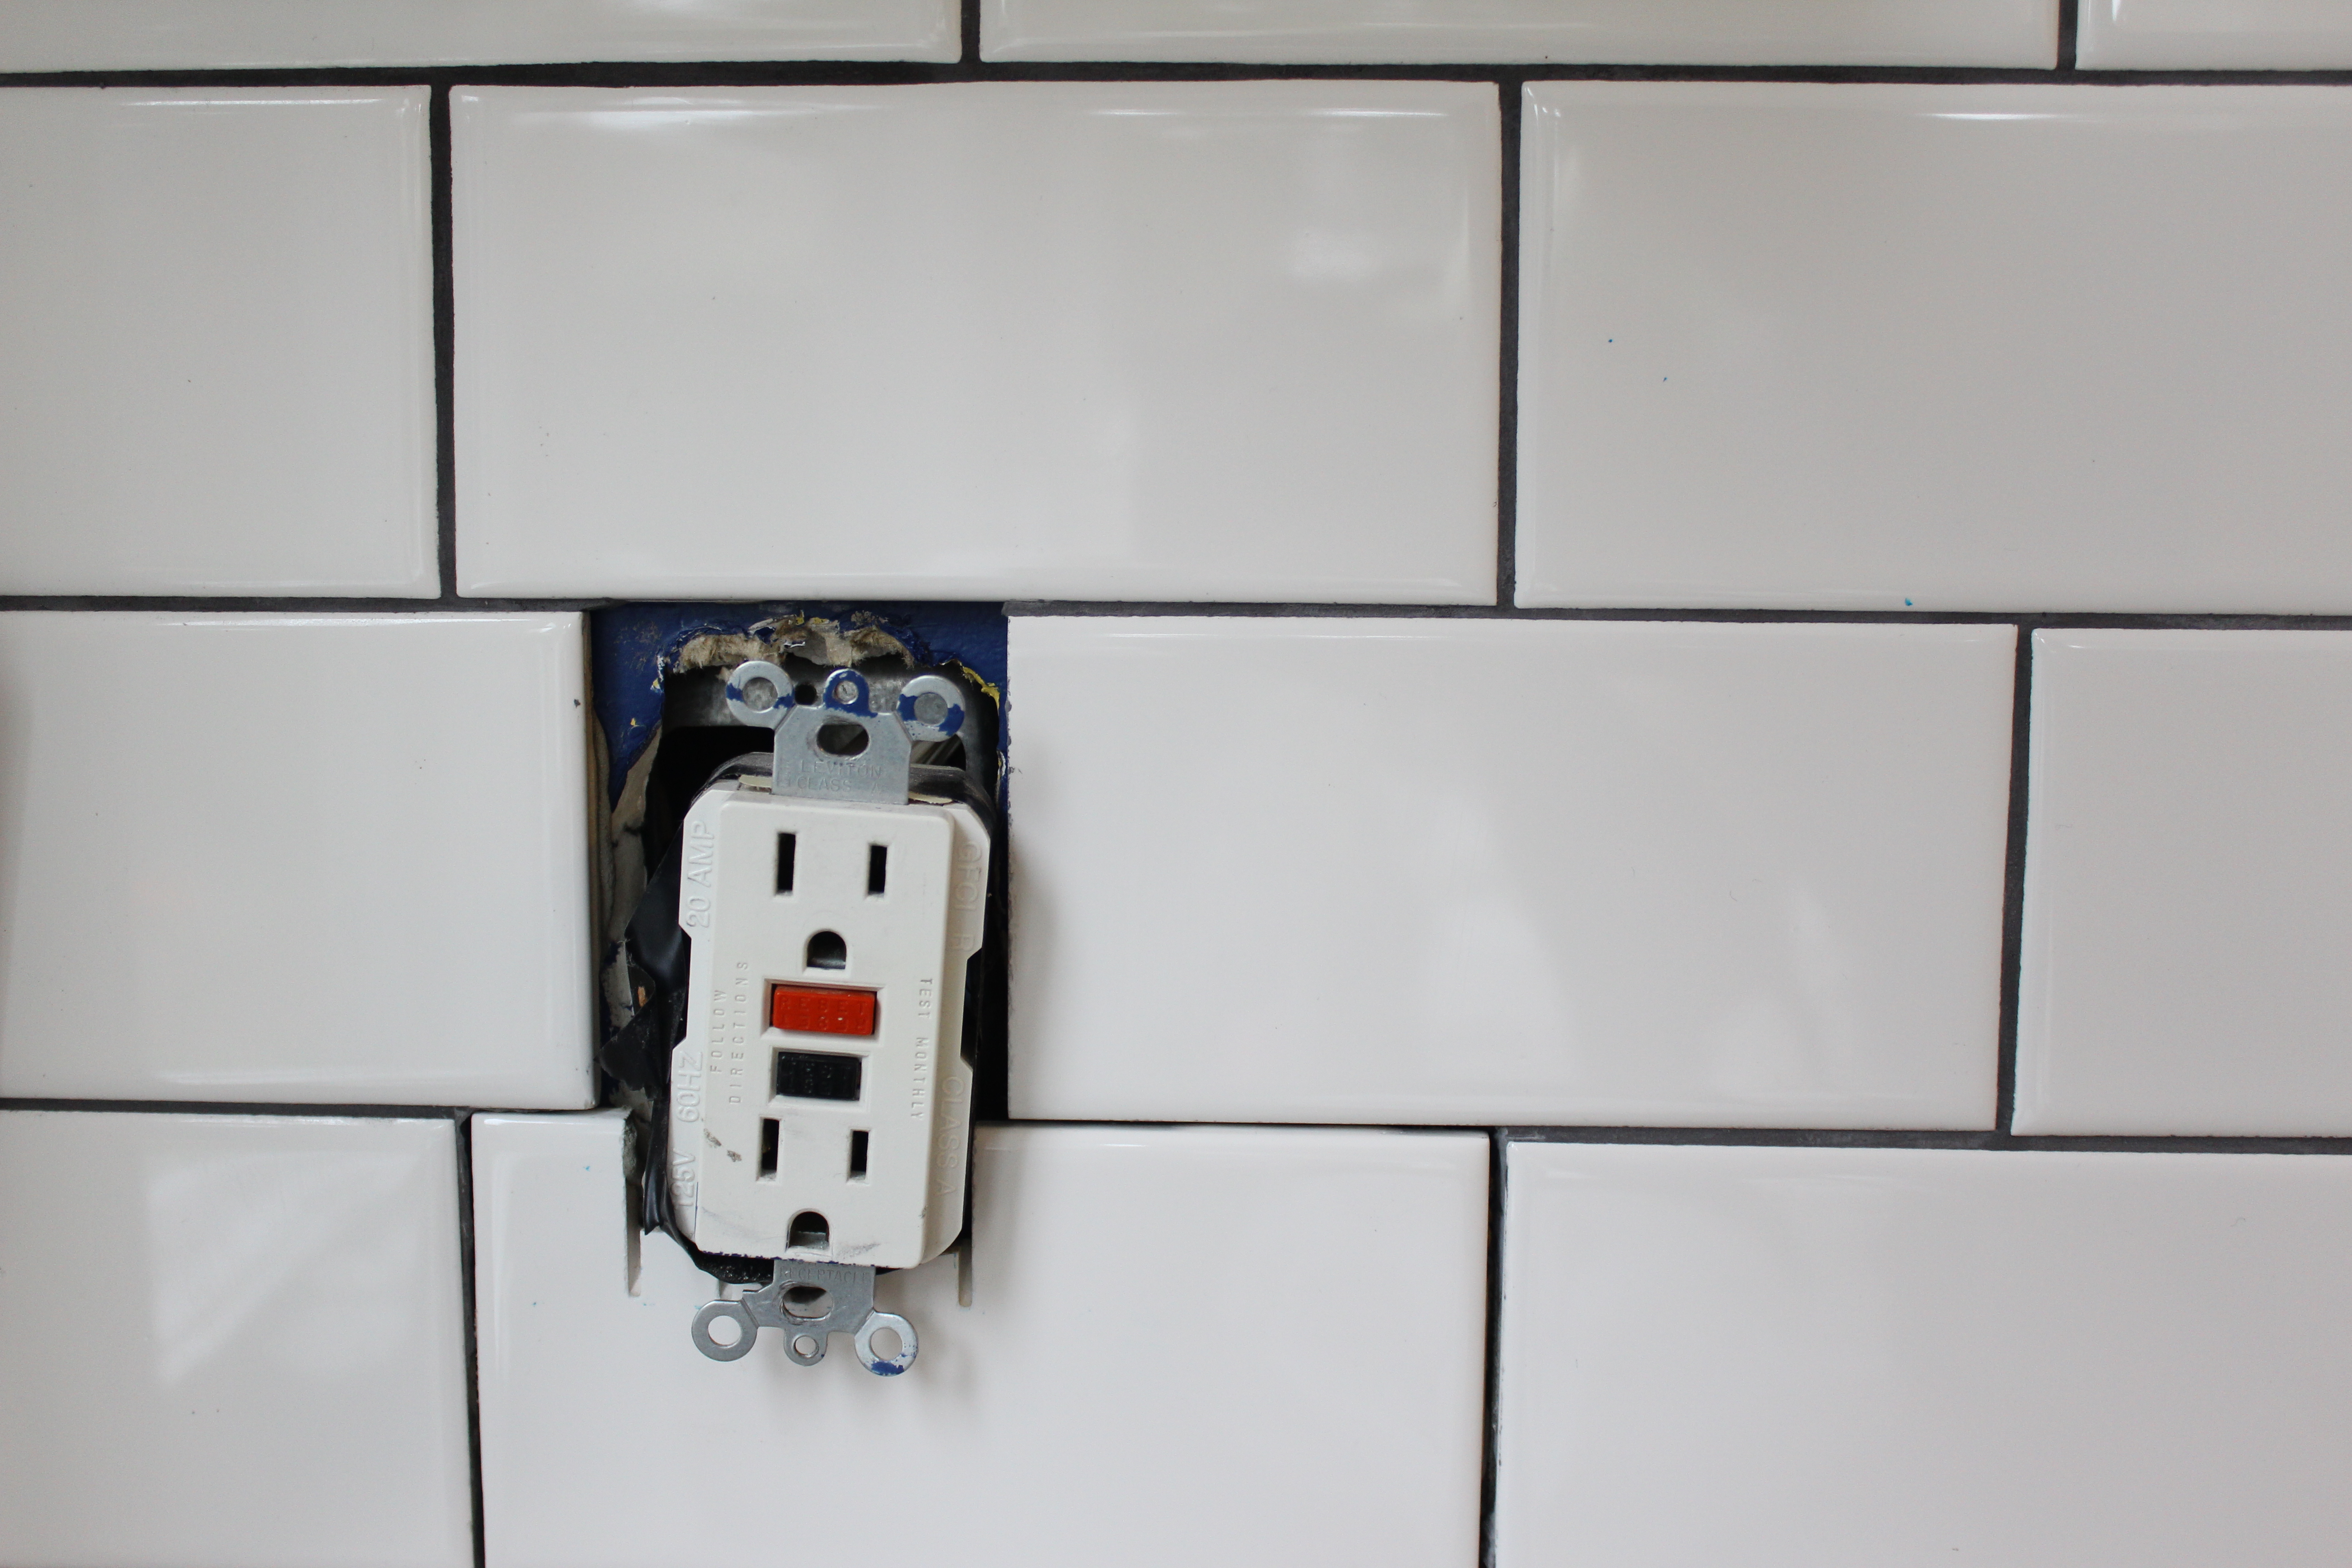
 Using a screw driver (as my chisel) and a hammer I chiseled the tile out. It came out in the form of about 50 little chards. Once out, the surface was in pretty good condition and I was able to mix a little mortar, and more importantly, I cut a new tile on my first attempt. I have to say…I don’t want to toot my own horn…but I’ve gotten pretty good at cutting tiles. It seems a little sad that I’m done with tiling…a waste of talent :)
 Now all my tiles are in, and I need to figure out wall color. I’ll post my thoughts next week! I’ll try to get my act together and do some photoshopping! It’ll be big! :)

It looks great! So fresh and so clean, love the white tile.
Wow Em – amazing work! Can’t wait to see it in person!
I love your kitchen!!
Thanks!
Just wondering if you still enjoy your concrete countertops? Did you was them to seal them? They look great!
I do enjoy them, but I need to lightly sand and do another coat of feather finish..I just keep not doing it. I’ve been waiting to find a better sealer! I like the color a lot, but they’ve definitely stained.