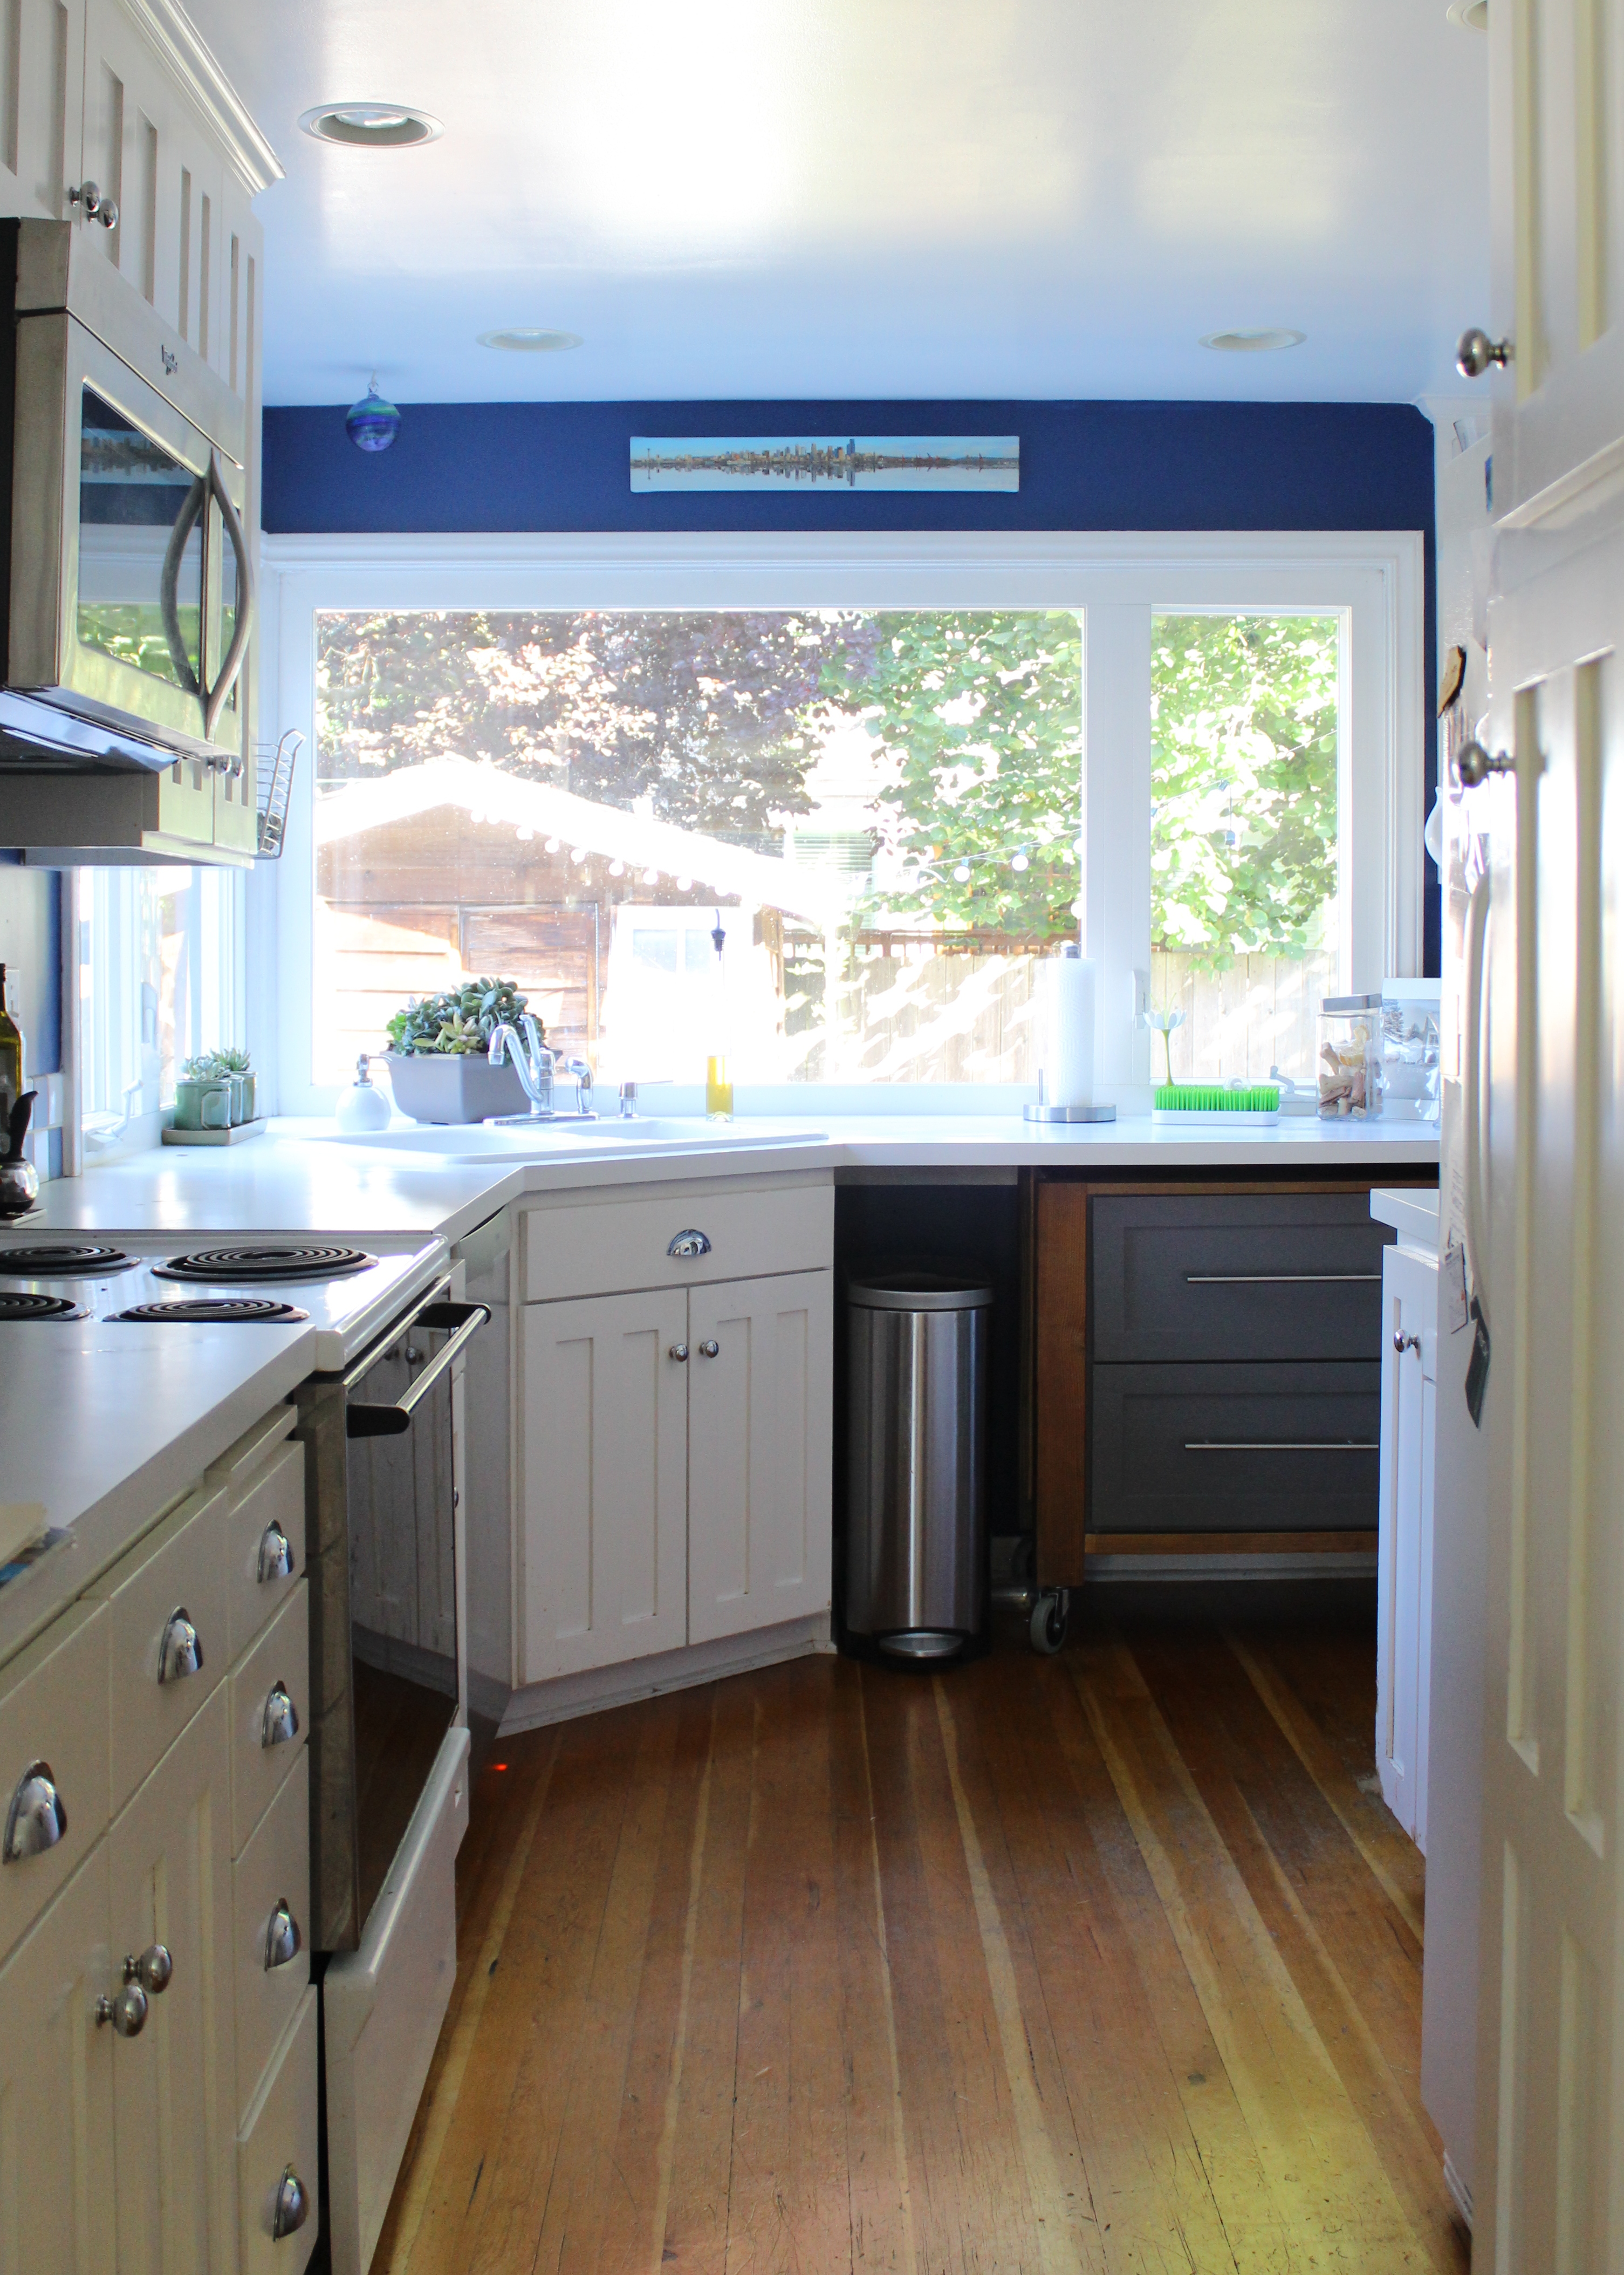
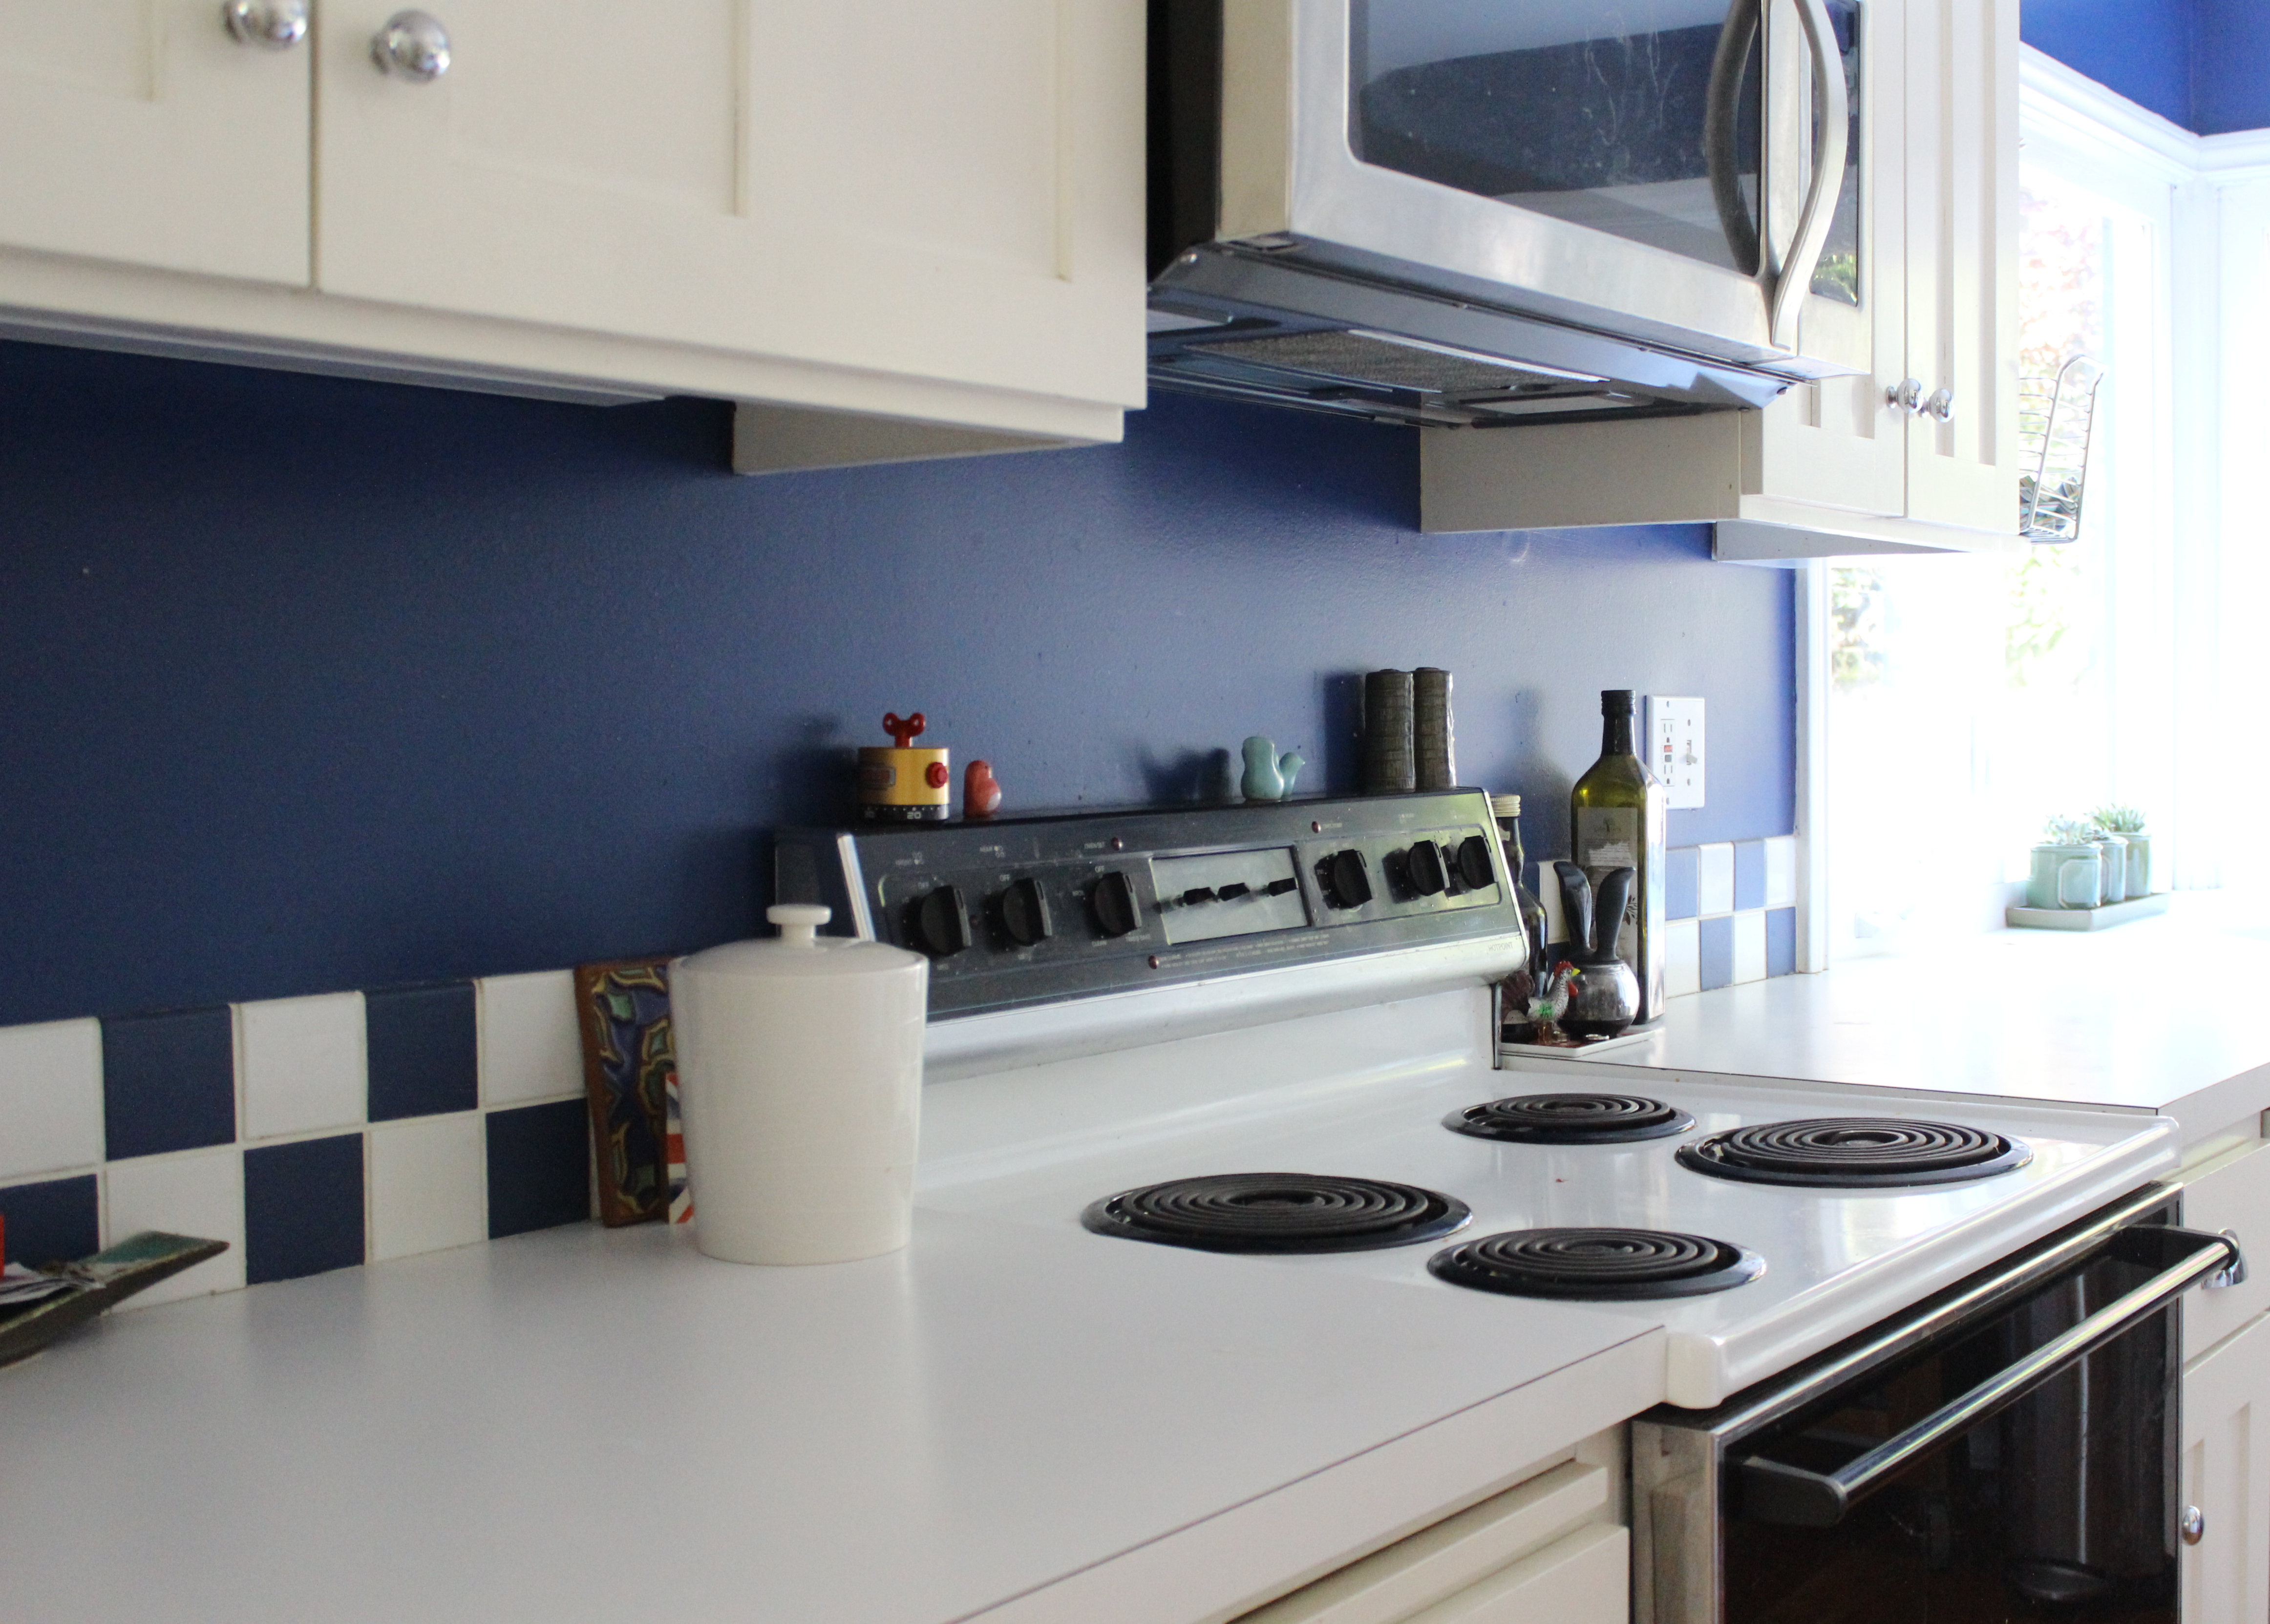
So after finishing tiling the bathroom floor, I was on a tiling high and thought it’d be a good idea to keep up the momentum and get going on the kitchen. We have a great kitchen – I like the blue, but don’t LOVE it. And I LOVE the subway tile in the shower. Unfortunately I can’t spend that much time in the shower looking at it longingly. BUT if it were in the kitchen I probably could.
I’ve been stalling on the backsplash for a while now because I figured it made the most sense to focus first on the counter top. And unfortunately we don’t have a budget for the kitchen right now. I’d LOVE carrara marble, which would be GORGEOUS, but it ain’t going to happen!! So what’s left? (I know, there are a lot of options) I like the look of butcher block, but the thought of tearing everything out sounded exhausting and much more of a big scale project. And I’d kind of like to keep my options open for doing something I truly love down the road. My friend just mentioned porcelain counter tops – I’m intrigued! But will have to revisit that idea later.
I was thrilled when I saw Kara Paslay‘s tutorial on DIY concrete countertops. This seemed like the absolute perfect solution! It was cheap, and I like the look of concrete counter tops. My fate was sealed with Jenny followed suite and refinished her laundry room counter top.
It’s slightly experimental, but figured if this didn’t work, I always had IKEA butch block to fall back on.
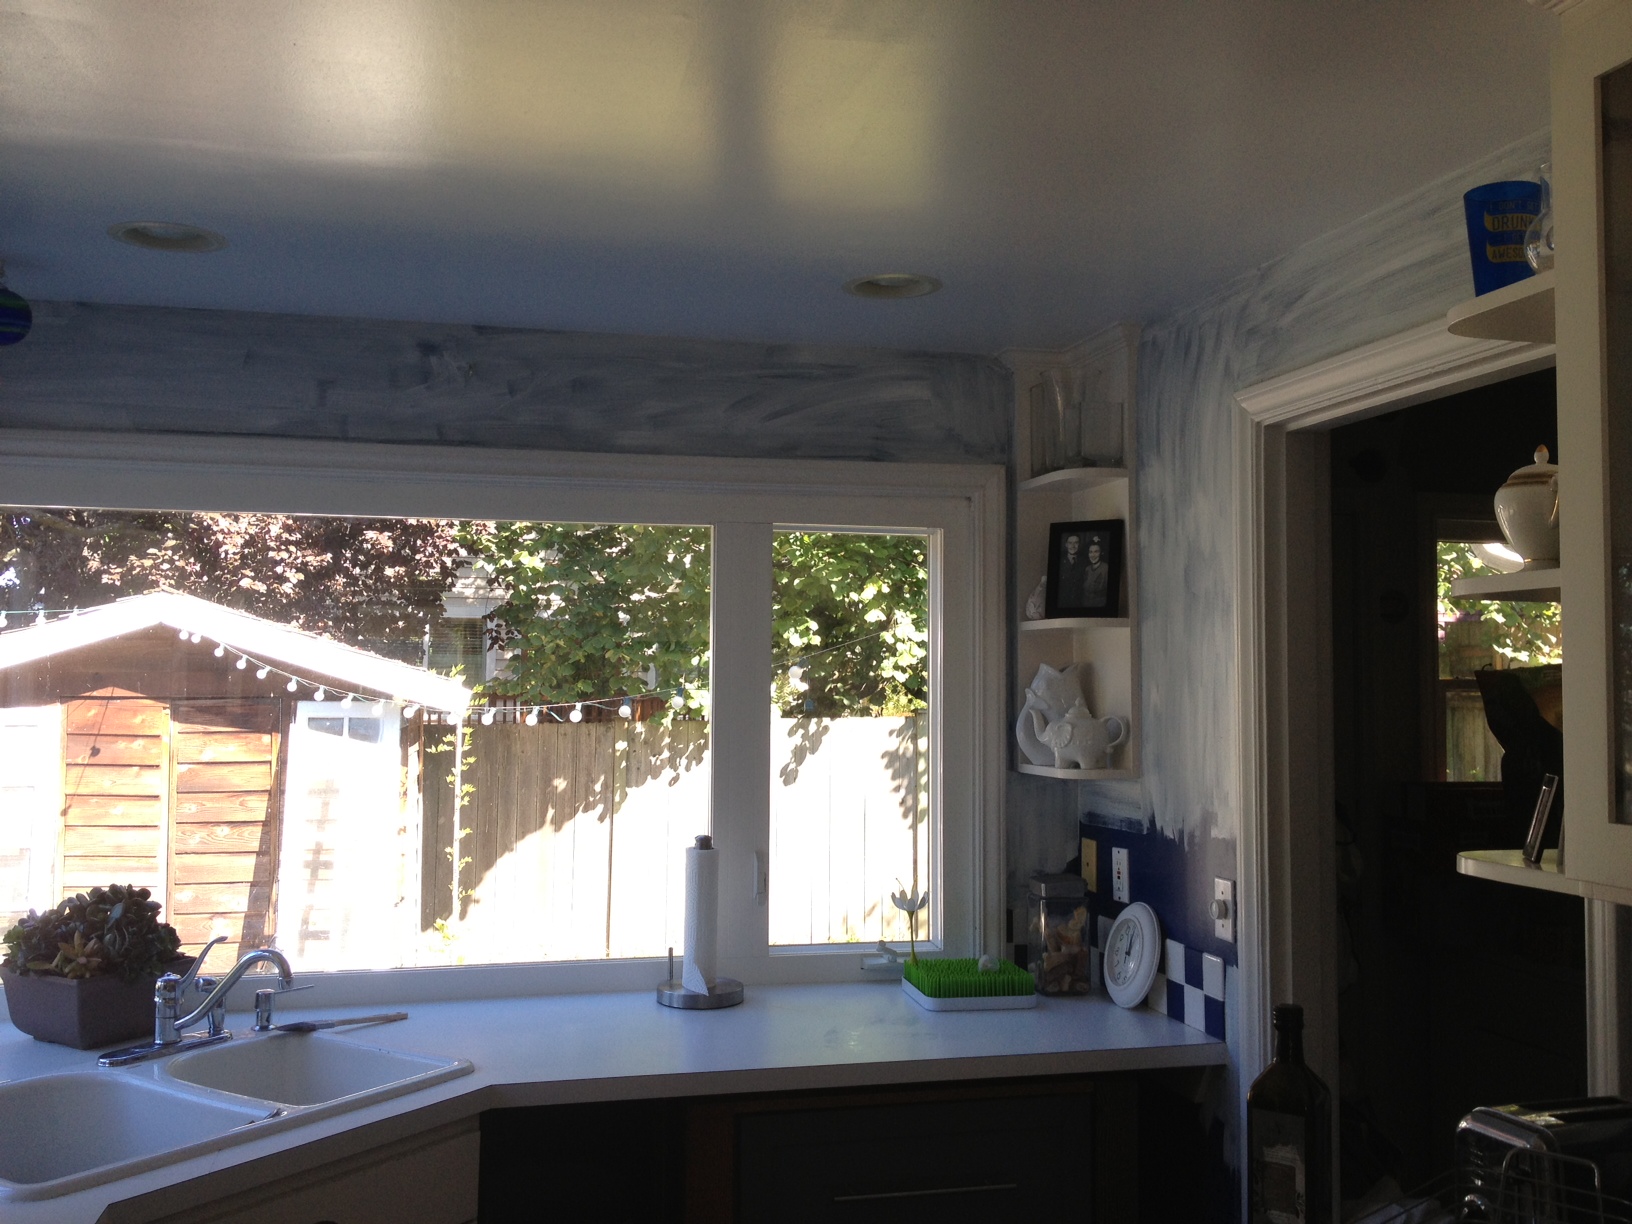
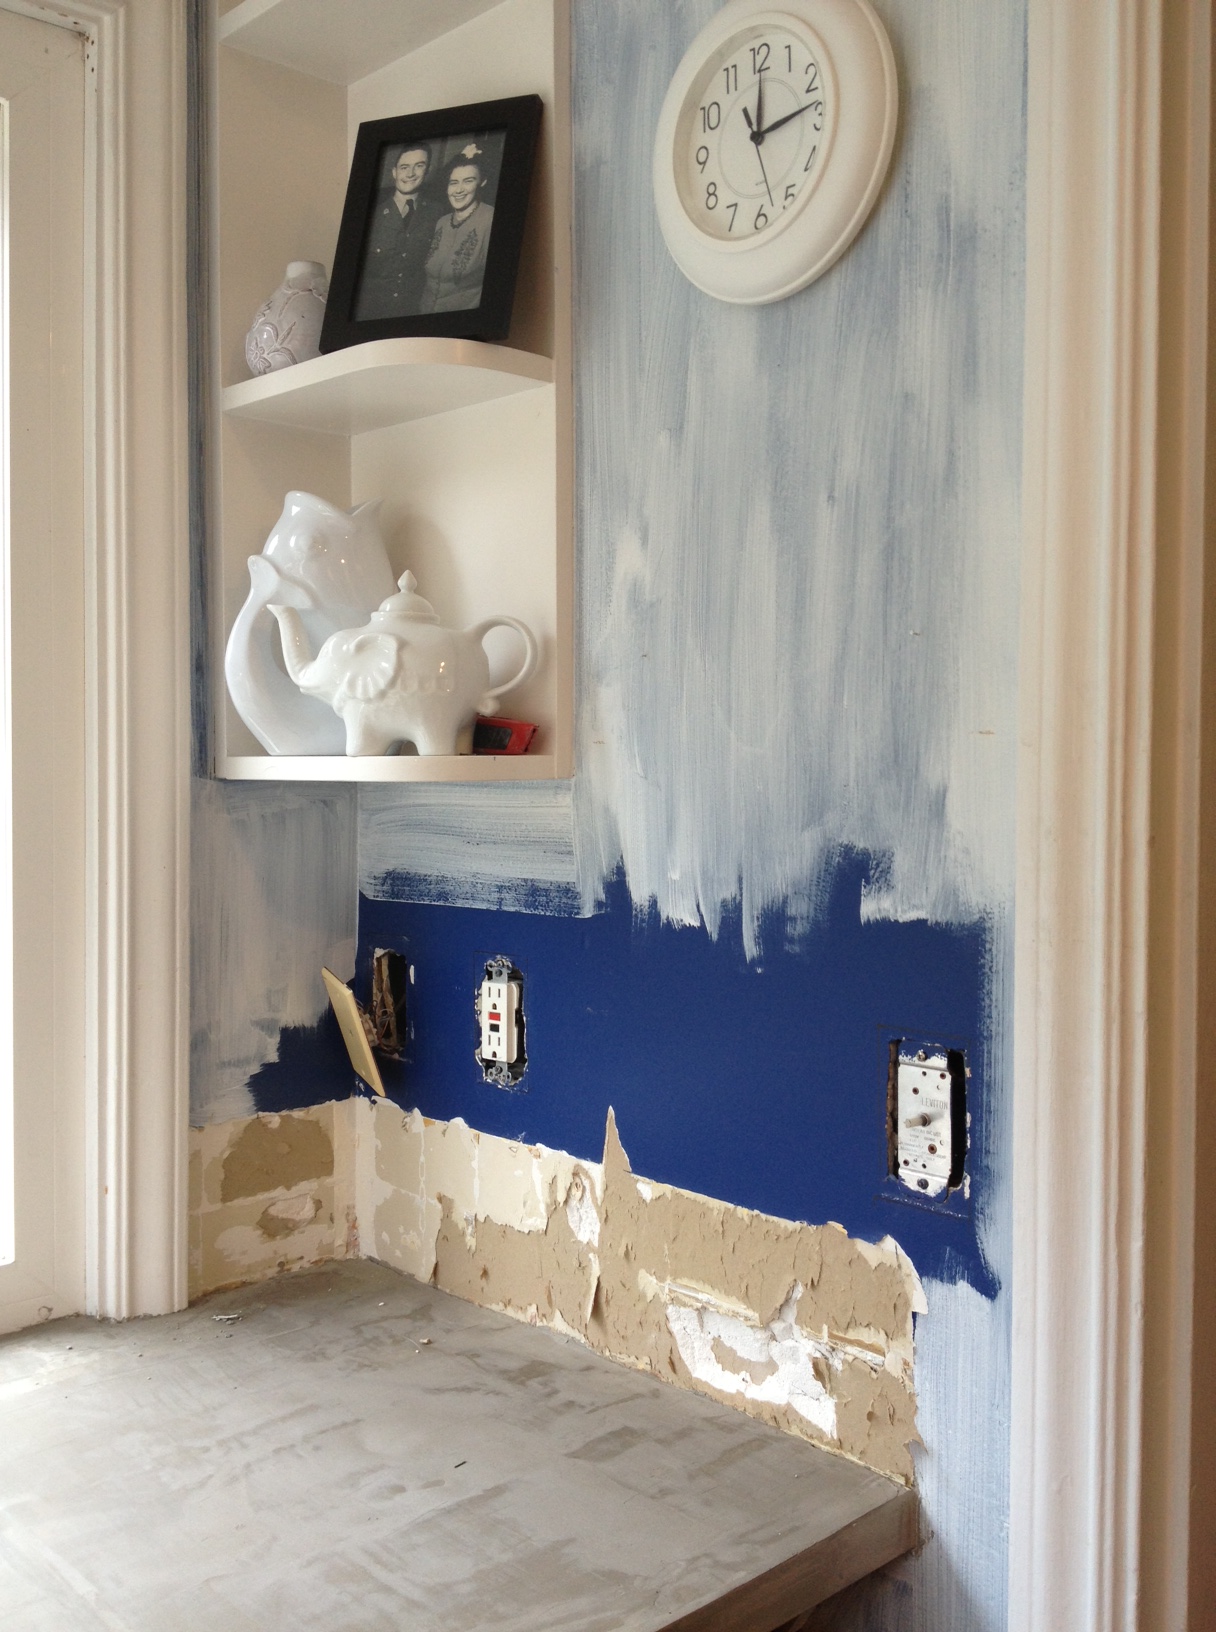
So like most of my projects, it started at nap time. I knew before I did any tiling, I’d have to prime the walls…that happened first.
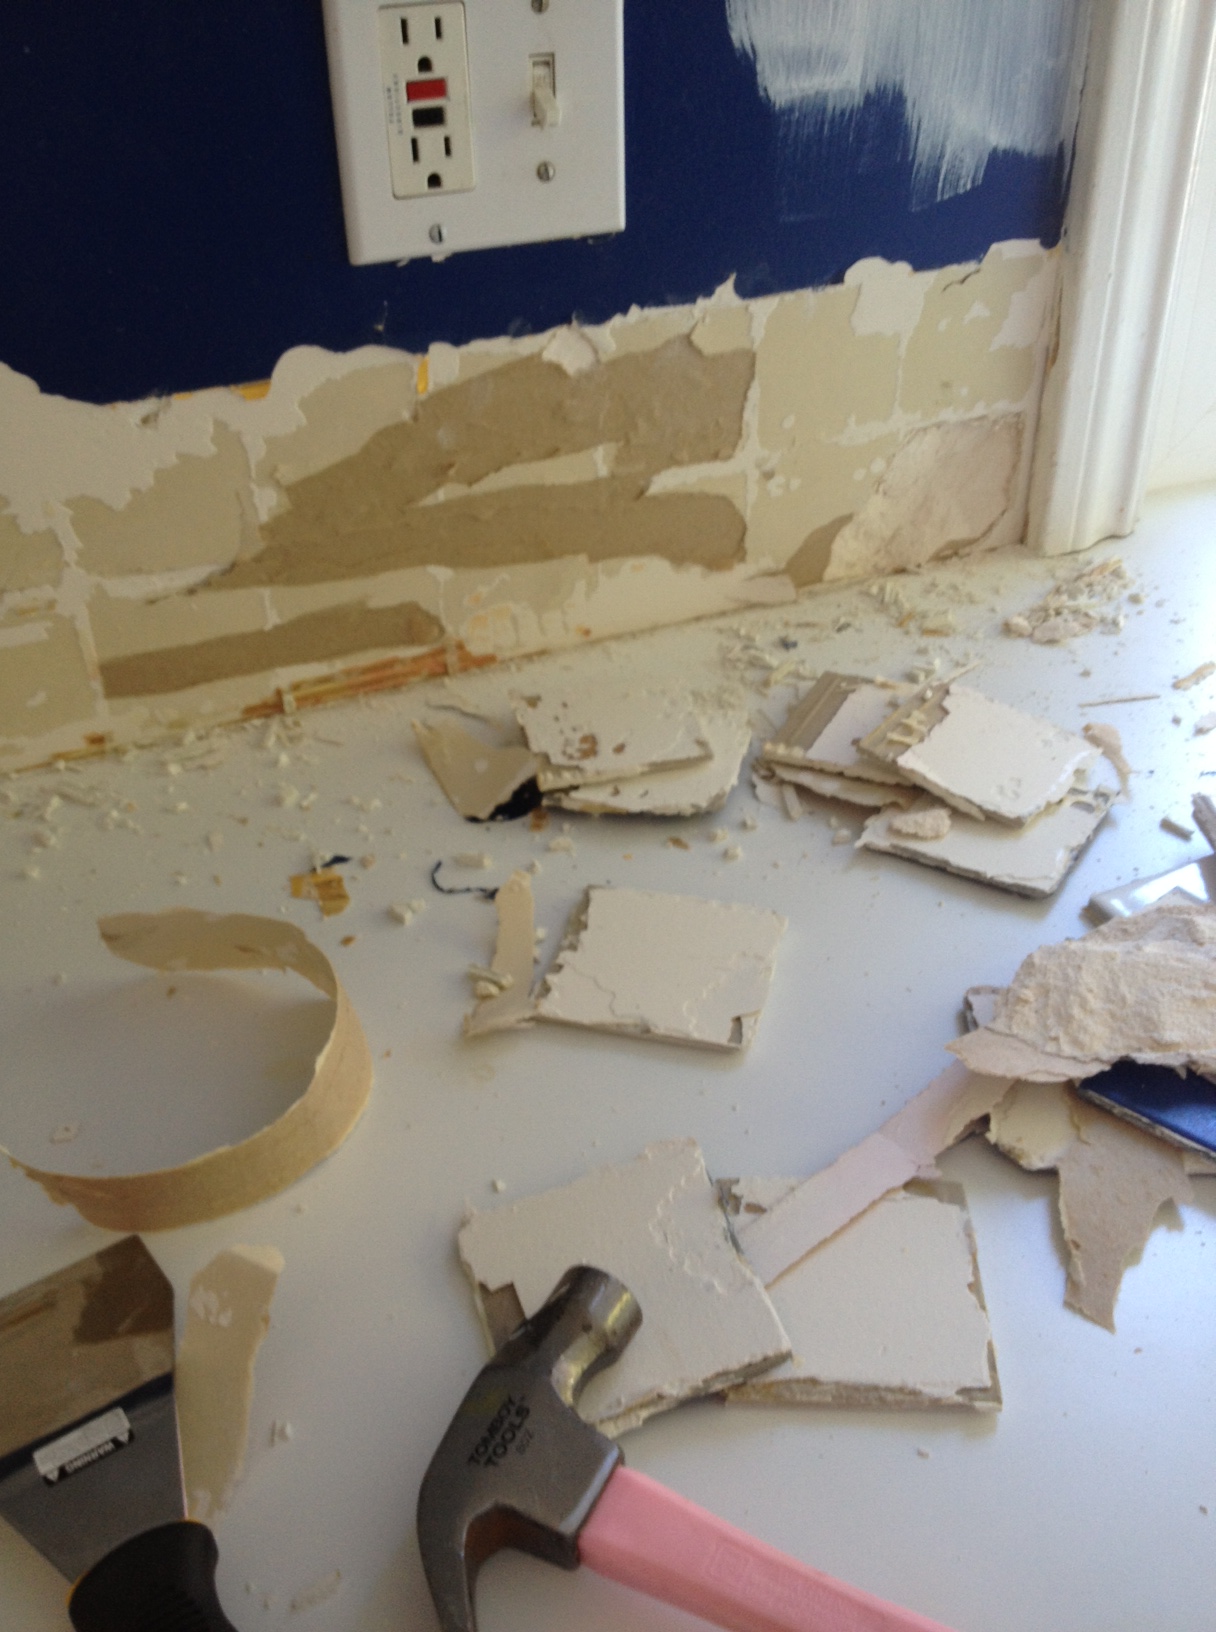
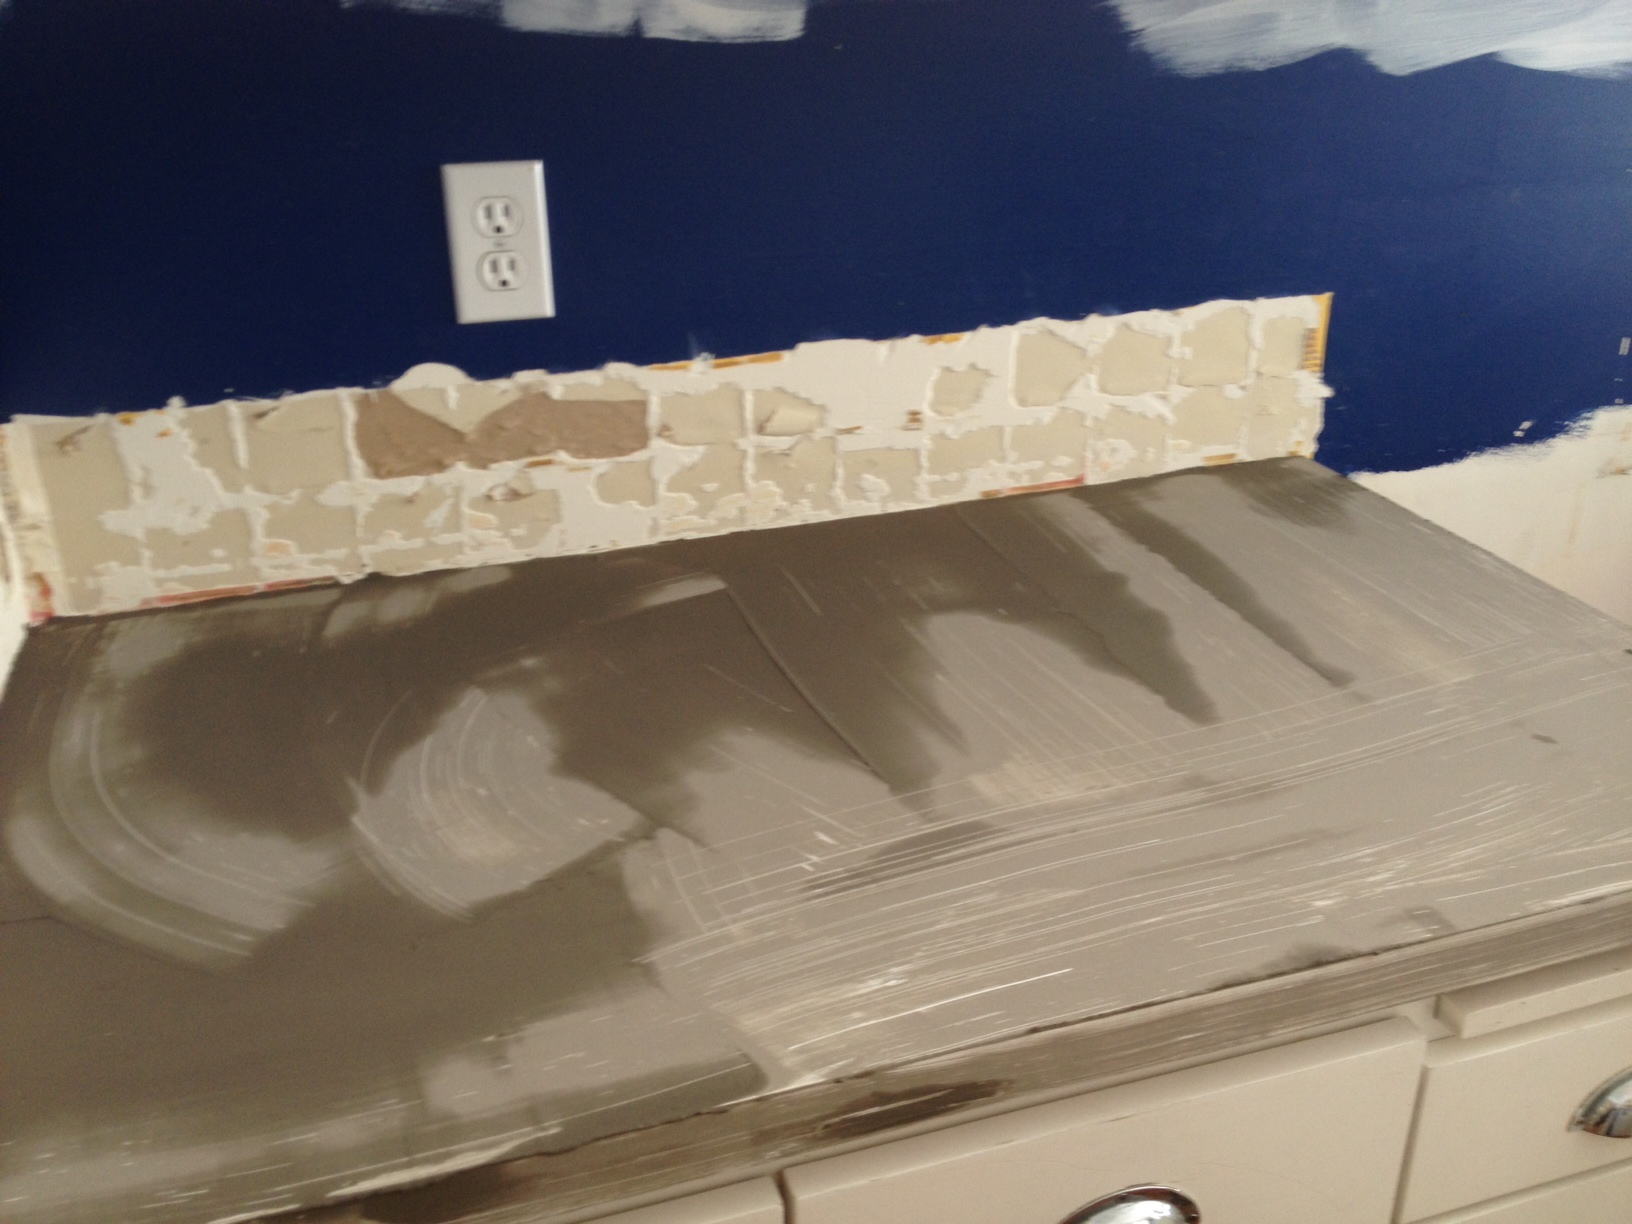
Then with Lucy still asleep, I thought to myself, “I wonder how easily the checkered tiles will come off the wall.” And then within 30 minutes they were all down. And more surprisingly, Lucy didn’t wake up, even when I was hammering a crowbar down on the tiles. I guess I must have to hammering gently.

That was finished by noon and once Lucy was up, it was time for an outing. I figured I might as well go buy the concrete material.
Kara recommended Ardex Feather Finish, but when I called Ardex to find out where I could buy it locally they told me that it wasn’t available at retails stores and I would have to buy it through a construction company. Then I found that Home Depot carried a brand, Henry, (has been discontinued) with Ardex technology. The specs guy at Ardex said that that would work just fine, so I picked up a few boxes…and then crossed my fingers and got started!
It’s pretty easy…as long as you aren’t a perfectionist. To start I sanded down all the laminate using a pretty rough low grit sand paper, then once all the dust was cleaned off, I spread a thin layer of feather finish over the surface.
 It was basically layer on, sand smooth, layer on, sand smooth, etc. I did about 3 coats, and then left if over night.
 Then I went over it with a fine sanding pad and did one more thin layer to get a few of the unlevel spots, edges, or where the white counter was peaking through.
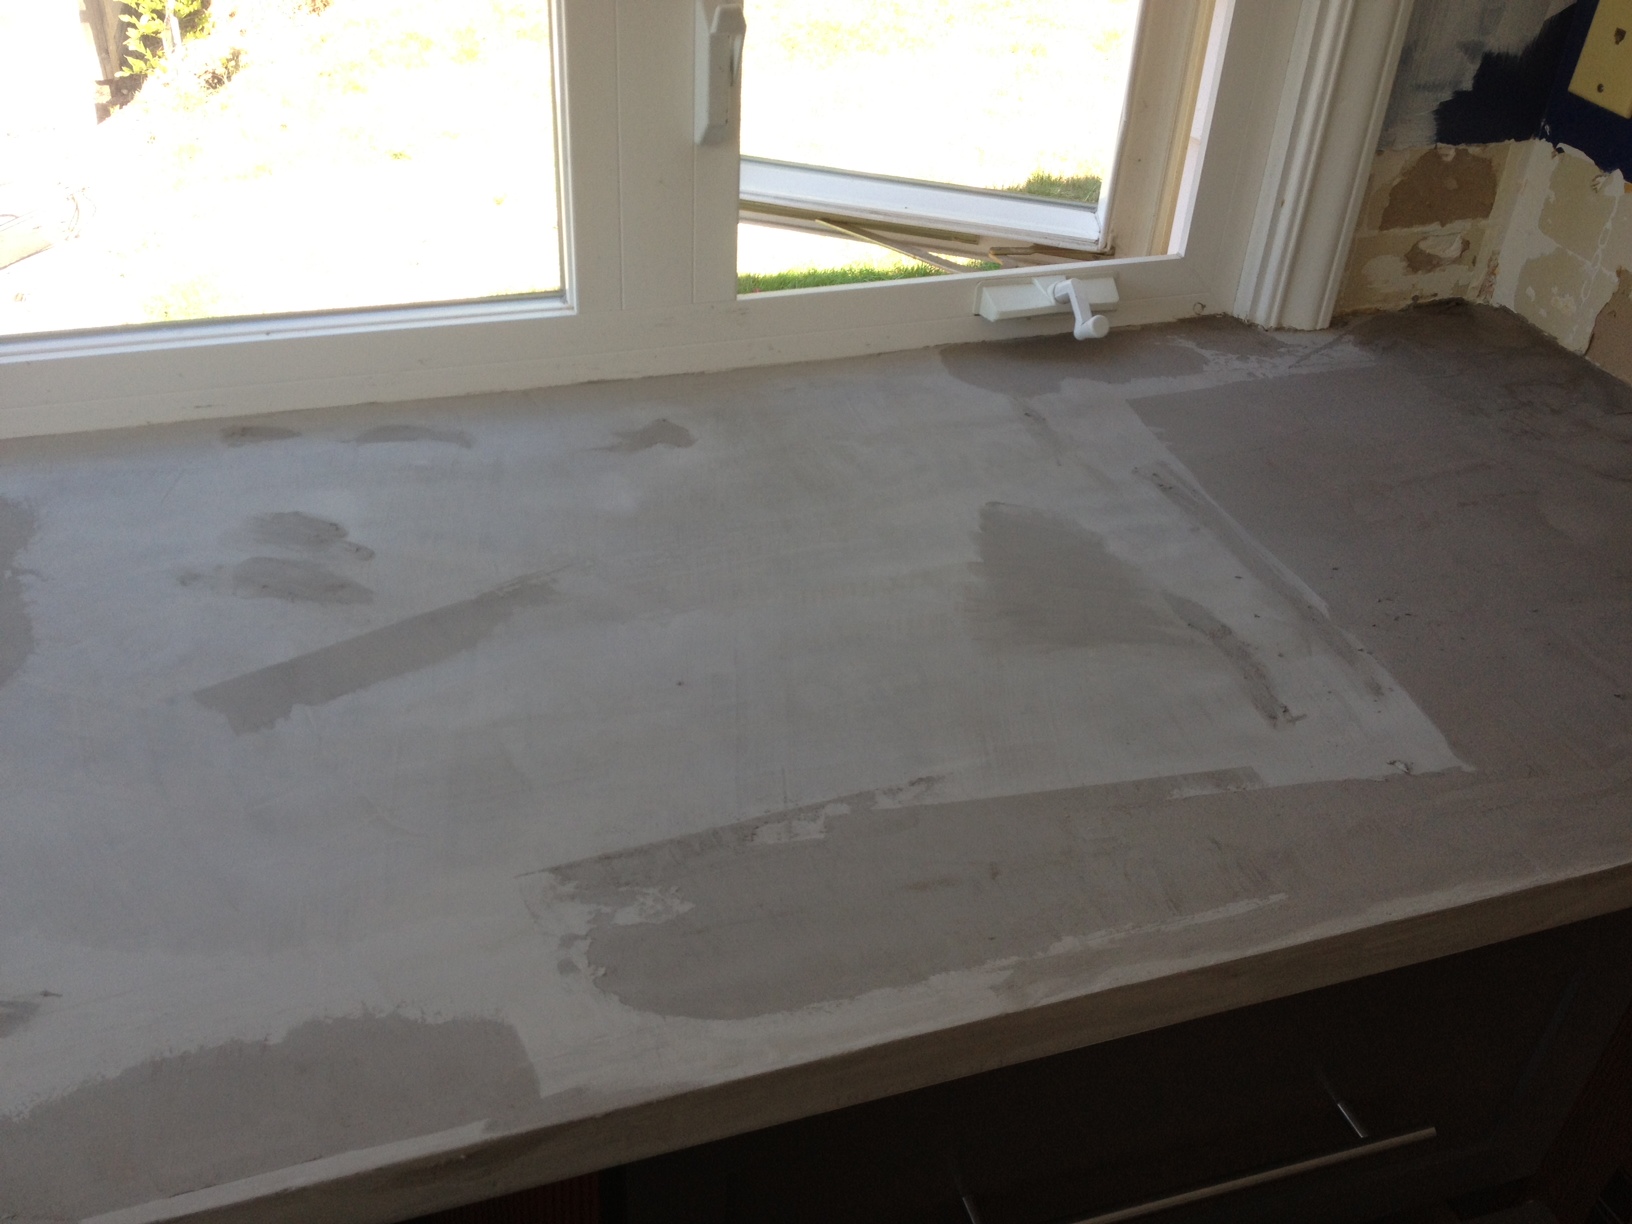 I say that you can’t be a perfectionist because this will make you absolutely crazy trying to make it perfect! I keep trying to level everything so that there were absolutely no seams or visible lines between trowel sweeps. Finally I just say, “this is concrete, it’s not supposed to be 100% consistent and smooth, it’s rough, embrace it.”
Next step – sealing.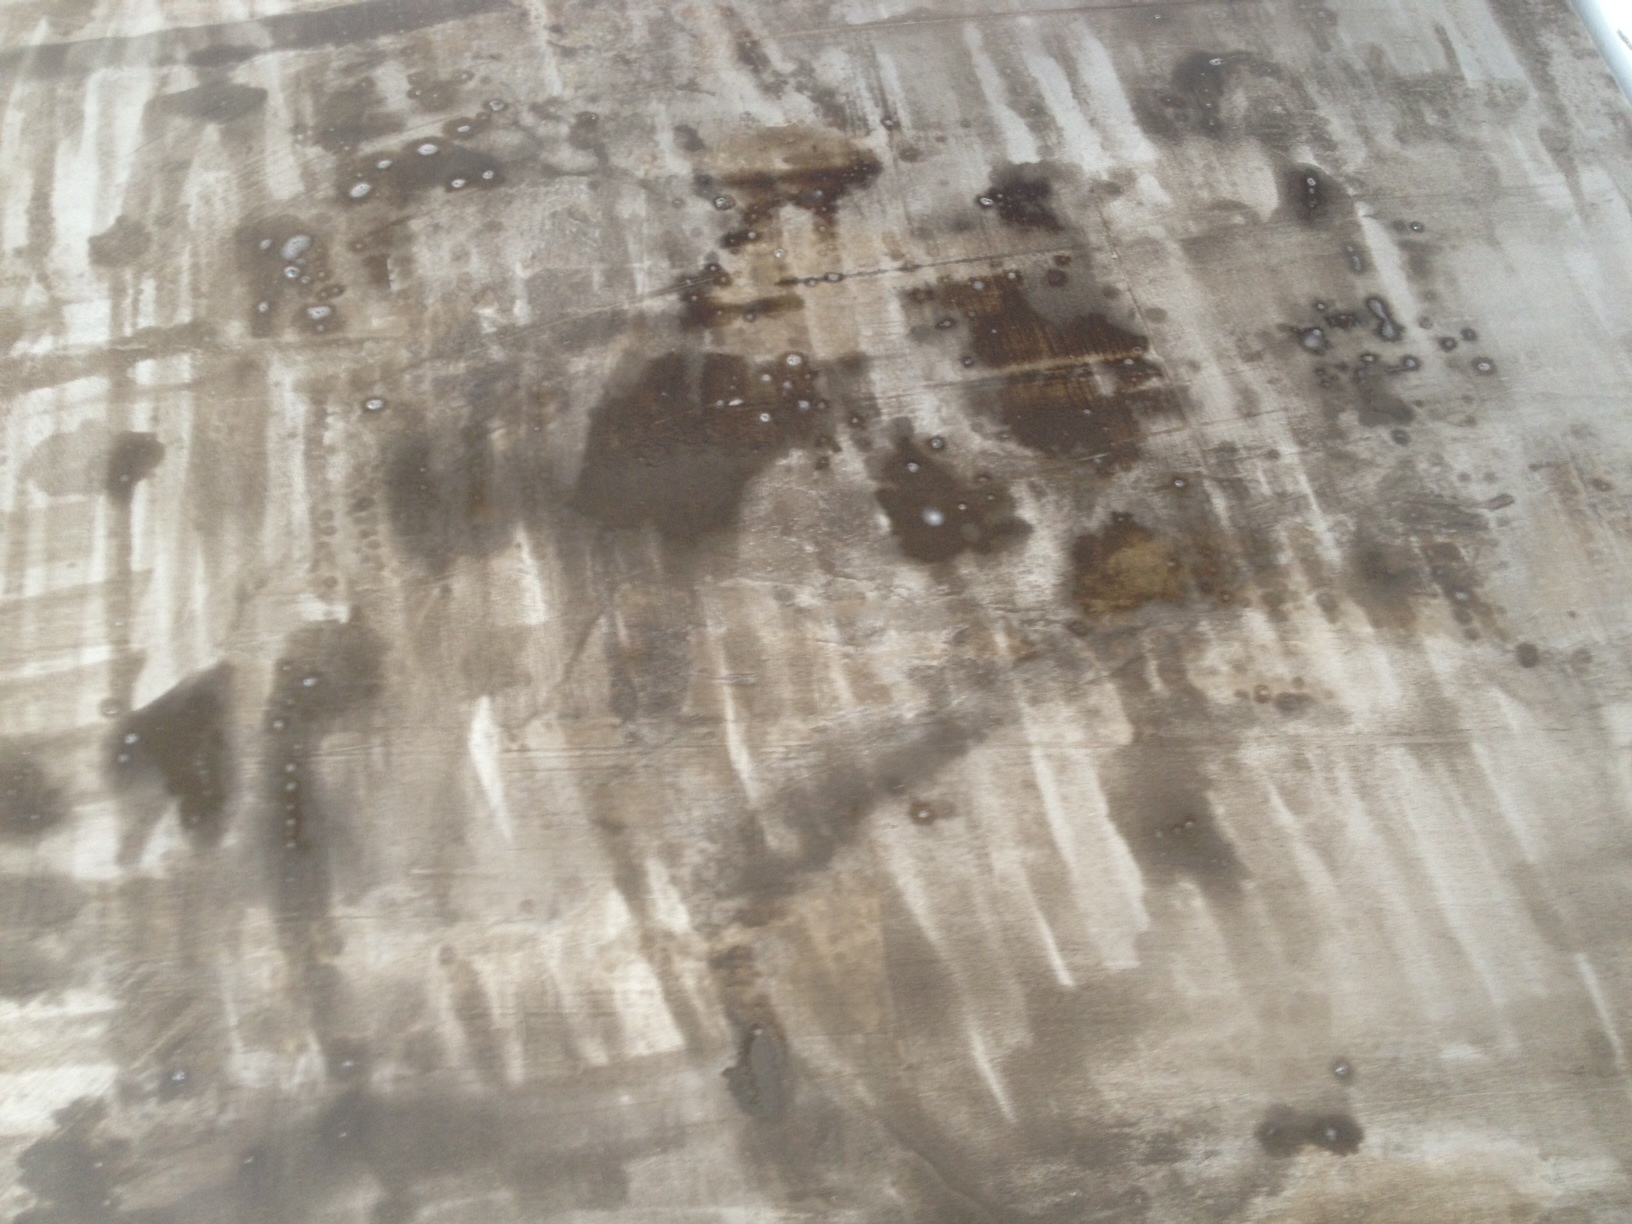 I
I
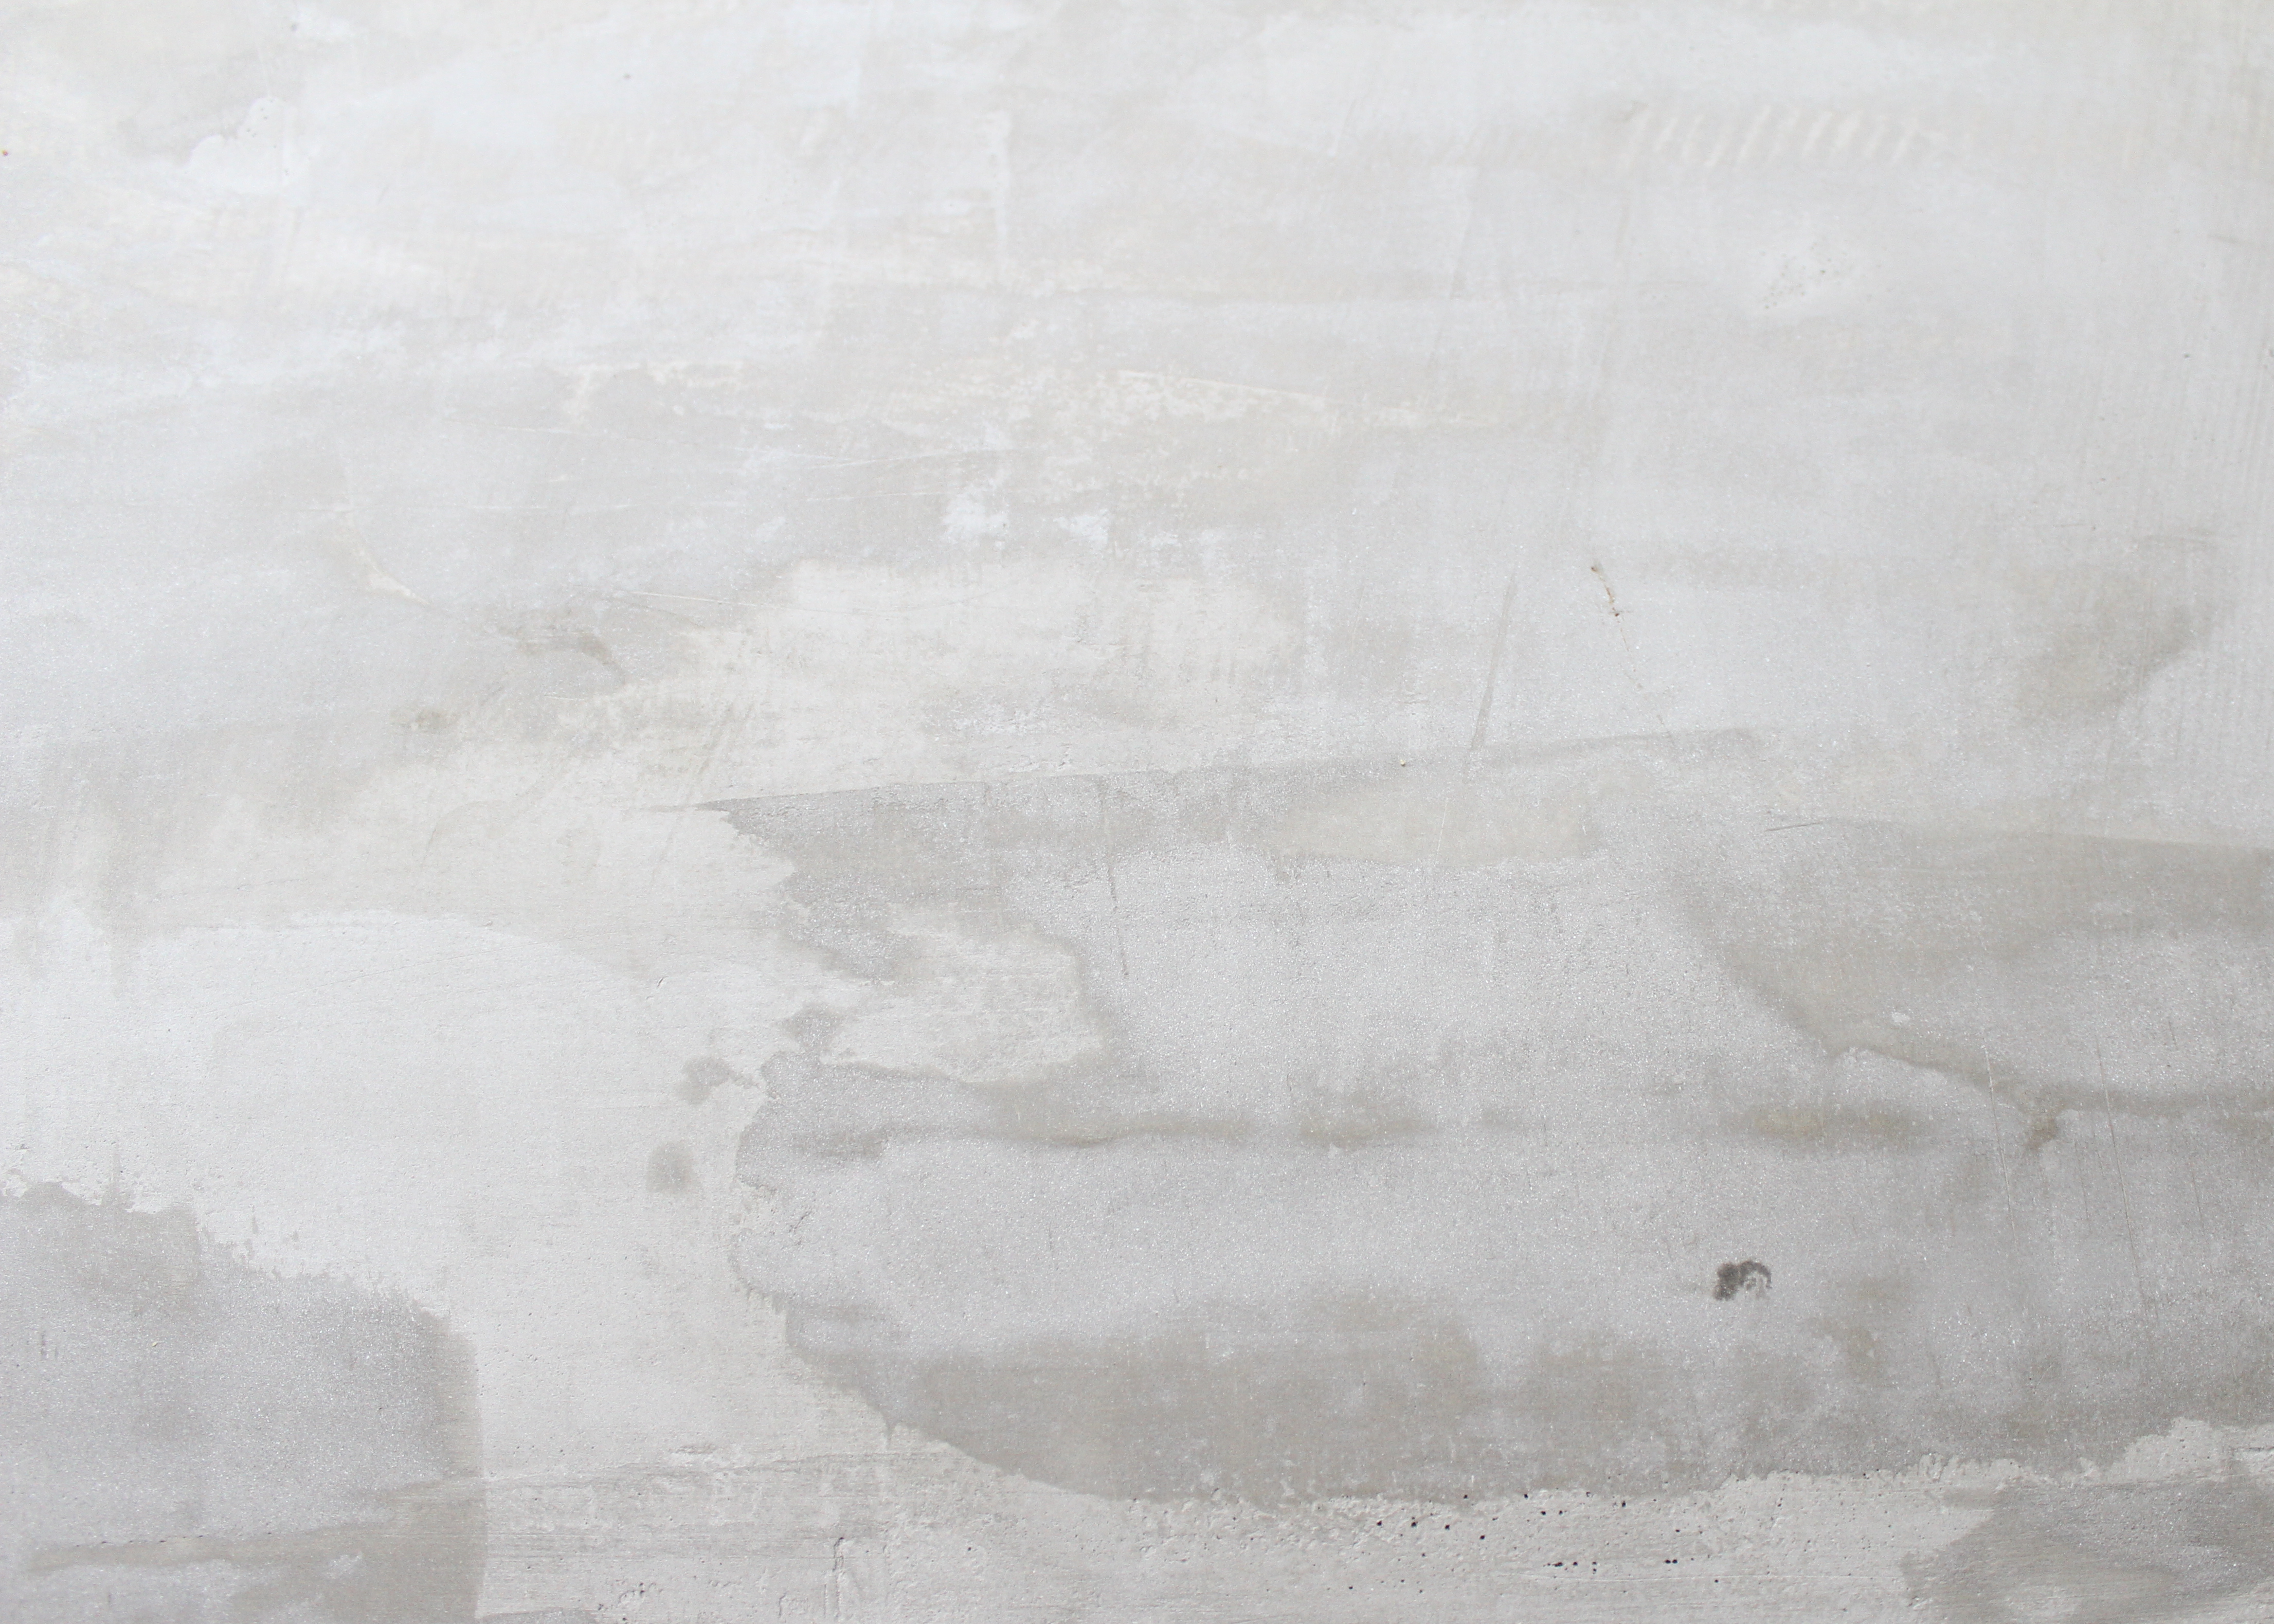 You can definitely see here what I mean about the visibility between layers. I think if once a layer was partially dry and the next went on, they’d end up slightly different. A few little air bubbles, lower right of photo, appeared where it went on thicker. It’s more along the edges, so I decided to be ok with it.
**spoiler alert**
Jesse came home after I sealed the counter tops. I told him they weren’t quite dry, and to be super careful. He cooked some potstickers on the stove and this is what I found the next morning.
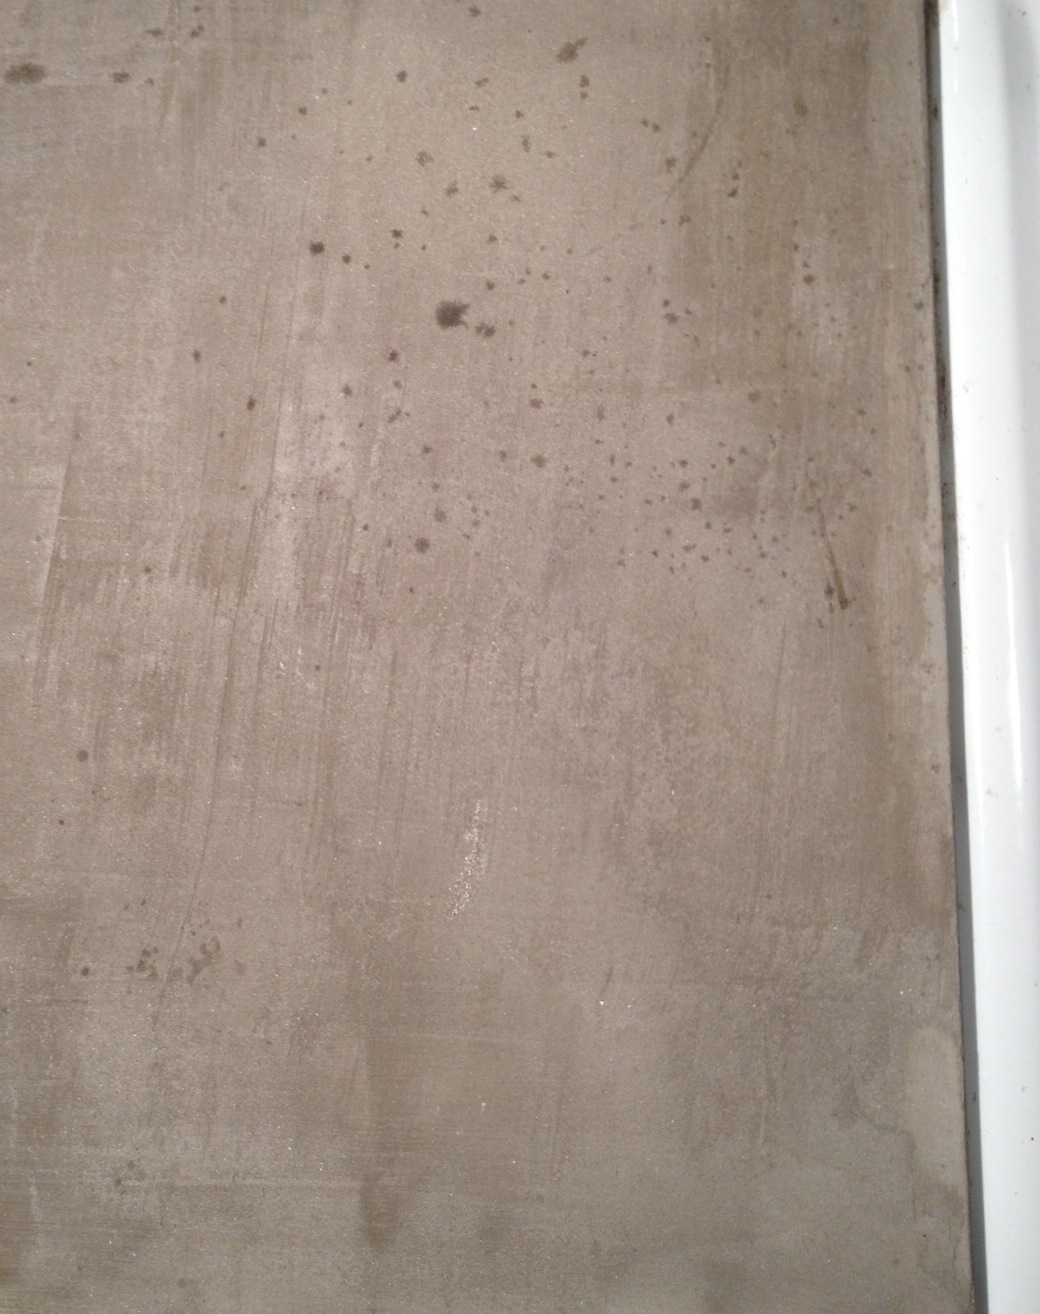 Oil splatters!! These counters aren’t looking good for us. They might not fit our “lifestyle.” The protected very well against everything else – water, coffee, red wine…but not oil. I even dropped a bit of peanut butter, and it sucked right in the oils.
I left them for now because I need to move on to tiling. I’m borrowing a saw that I’ve had for too long, so on to the backsplash, and then I’ll come back to the counters. I’ll probably do a light sanding, new feather finish, seal, and then try waxing them as well. I’ve been researching! :)
(JANUARY 2014 – UPDATE ON THE COUNTER TOPS)
PS – I’m a little behind on posting. You might notice in my instagram feed I’ve already finished the backsplash – but I swear it takes just as long to put a post together! I’ll have the subway tile back splash up next week!
Stay tuned!

I’d love to hear more about how your counters work out and see some more pictures. I’m in the midst of testing for a bathroom counter. I so very much want this to work but I keep coming across situations like yours where it was kind of okay but with caveats.
We’ve had them 3 weeks, and I think that they are cool, but I don’t know if I would do them again. I feel like they always look dirty. Maybe because I was used to clean white counter tops. They aren’t very consistent, so they won’t work for a perfectionist. But I like the color and so far they haven’t stained from coffee or wine, but they have totally absorbed oils. I need to fix the oily areas and then will experiment with more sealers and waxes. I’ll have to pose an update. :) Thanks for reading!
Beautiful! You can always put that tile talent back to work and teach/help me replace the backsplash in our kitchen! SO impressed! Enjoy your well deserved vaca… That is, after the fence is built! Good luck!!
Heck yeah! It can be a little workation! :)
I’ve always wanted a concrete bench top but the cost has always put me off!
You could do plywood and then cover it in the feather finish?! I bet it would look great!
I was wondering how the countertops where going? Have you thought of using an epoxy sealant? I too am going to try this. I love concrete countertops but I went a little over my budget when I ( my husband & I ) put down solid oak flooring. I had to settle for butcher block & I’m not to crazy about them
I am not really sure how I feel about the countertops. :) I’m glad I tried it, but I wouldn’t do it as a long term solution. It’s been about 2 months, and they seem to absorb everything. And there are areas that are stained and blotchy. I keep thinking I will recoat and try a stronger sealer, but haven’t gotten around to it. I will look into the epoxy sealer…I just need to make sure it’s food safe :) I love the look of butcher block! Maybe we can trade :)
It is food safe. Most all of the concrete countertops I’ve seen have an epoxy sealer on them. I’ve got an epoxy sealer on my butcher block countertops, unfortunately when we applied the sealer it changed the color of the wood ( looks extremely golden oak )& now they no longer match our floors which are a natural white oak & they clash. That is why I am wanting to cover them.
You should look up Granite Crete countertops, they are amazing! I client of mine in a very up scale condominium complex in Edmond, OK had them installed after we were done giving everything else a facelift. At first I was a little skeptical when she spoke of them, but once I saw the final product I was blown away! The only thing I really didn’t care for was how thick they had applied the epoxy. It almost took away the beauty from it.
Good to hear about the epoxy. I’ll probably wait until the Holidays are over and do another coat and re seal. I just can’t deal with it until then :) I’d never heard of granite crete countertops. They look really neat! I’ll have to take a look. I have a feeling that we will just be leaving them as they are, we have too many other house projects that need tackling :)
I love the countertops. This would be the ideal solution to my mint green and brownish-pink 1970’s counters. ;) Just wondering how well this holds up if you drop something on it? We are droppers in our house, pots, pans, dishes and I would hate to spend all the time to do pretty countertops and have the first pan dropped crack them. If you could email me back that would be great. Thanks.
I’ve dropped things, and the counter tops have been fine. I have noticed though if I set a cup or something that has a ring of liquid at the base, like milk, once it dries, it will pull a bit of concrete off with it if I’m not careful picking it up.
Thanks so much for replying. I wonder why that is such a problem, the lifting of concrete, even after it is sealed. From other blogs I read on this subject that is an issue every time. Guess I will have to think about this and figure out just how to get it sealed up. Keep up with the awesome projects.
FYI.. got some Henry’s today at Home Depot. It’s still there.. lots of different selections in fact.
Have you thought about a stain in your concrete mix to add a slight bit of color and it would hide lots of those other “stains”
I know these are available, my friend who does cement floors said a really good sealant should help with your staining problem it makes them more shiny but much sturdier. I am giving these a go in my bathroom then onto kitchen ………?
Thanks for your great information
Yes, I have more concrete mix and I need to refinish and then use a much better sealant…I’ve just been lazy, or too busy. Too busy sounds better :)